Complete Guide to Drain Services in Portland: Clogs, Camera Inspections, and Preventative Care
Portland homes face recurring blockages, aging laterals, and persistent root intrusion that make ordinary plungers and store-bought drain products only a temporary fix. This complete guide to drain services walks homeowners and property managers through quick diagnostics, when to call a licensed plumber, how video camera inspections, snaking, and hydro-jetting change the repair decision, and what to expect for permits, costs, and preventative maintenance. Read on for practical, Portland-specific steps and clear next actions for single-fixture clogs or system-wide problems.
Anatomy of Portland Residential Drain Systems and Failure Points
Key point: Portland homes have the same basic drain topology but the trouble spots are predictable and clustered where materials, transitions, and landscape forces meet. Knowing where those joints and cleanouts sit cuts diagnosis time and prevents unnecessary excavation.
Key components and where problems start
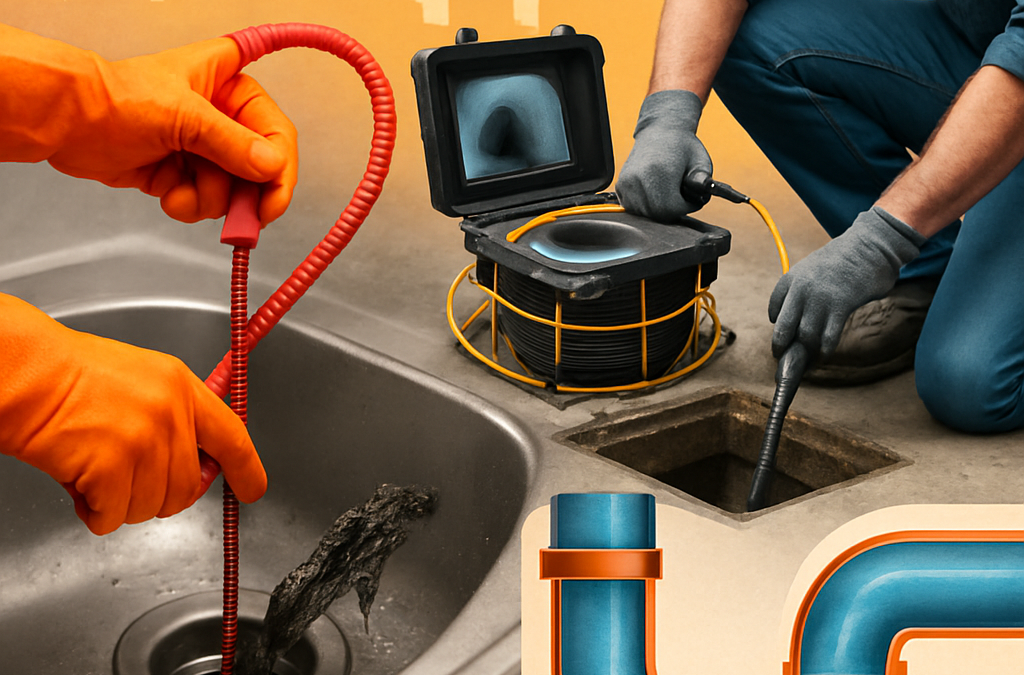
- Branch drains: short runs from fixtures that feed into larger mains; clogs here cause single-fixture symptoms and are often solvable with a plunger or sink-trap removal
- Traps and P-traps: immediate foul-odor sources when they dry out or leak; expect hair and grease buildup in bathroom and kitchen traps
- Vents and vent stacks: keep flow moving; blocked vents produce gurgling and slow drainage across multiple fixtures rather than a single blockage
- Main sewer lateral: runs from the house to the city connection or septic tank – failures here cause multi-fixture backups and sewage odor
- Cleanouts: access points for mechanical clearing and camera insertion; commonly located at the foundation line, property line, or near the street
Practical insight: Many homeowners do not know the cleanout location until a plumber points it out. Cleanouts can be under sod, behind shrubs, or inside a basement floor drain. Mark it, photograph it, and keep it accessible to save time and emergency fees.
Materials by era and how they fail
| Material | Common Portland era | Typical failure mode |
|---|---|---|
| Clay or vitrified ceramic | Pre-1940s to early 1960s | Joint separation, root intrusion, brittle collapse |
| Cast iron | 1940s to 1970s | Corrosion, internal scale, cracks at bends |
| PVC/ABS | 1980s to present | Fewer failures but poor transitions to older material can leak |
Tradeoff to remember: aggressive cleaning like hydro-jetting is effective on grease, scale, and roots when pipes are structurally sound, but it can worsen damage in crumbly clay or corroded cast iron. Always verify pipe condition with a camera before choosing a high-pressure option.
Concrete example: A Laurelhurst bungalow with a mature maple developed recurring slow drains across fixtures. A video camera located a root intrusion just beyond the cleanout and a bellied clay section. A temporary snaking and targeted root cutting relieved symptoms, but the inspection showed lining the lateral was the only durable fix.
Knowing pipe material and the cleanout location changes the repair sequence: inspect first, then pick the least invasive method that fits pipe condition.
Next consideration: If your home is older or has mature street trees, schedule a video camera inspection before committing to hydro-jetting or excavation. See Portland Bureau of Environmental Services for lateral permit triggers and review River City Plumbing sewer camera inspection for what deliverables to expect.
Most Frequent Causes of Clogs and Local Risk Factors
Straight fact: most Portland clogs trace to a handful of predictable sources — and the right fix depends on where the problem actually lives in the system. Identifying whether a blockage is in a fixture trap, a branch line, or the sewer lateral changes the cost and method of repair.
Kitchen grease, hair and soap residue, and flushed solids still top the list for everyday residential clogs. For small commercial kitchens and restaurants, accumulated fats and solids overwhelm plumbing faster and require mandatory interceptor maintenance. These are routine problems, but they become expensive when combined with older pipe materials or landscape pressures common in Portland neighborhoods.
Portland-specific risk factors shift probability away from simple fixes. In areas with mature street trees, roots invade joints and offsets in clay or cast-iron laterals. Homes built before the 1970s often have brittle or corroded sections that will not tolerate forceful mechanical cleaning. Seasonal heavy rains increase ground saturation, which can force groundwater into cracked laterals and produce intermittent backups that look like clogs.
Symptom-to-cause quick guide
- Single slow fixture that clears with a plunger: likely a local trap or branch line obstruction (hair, food, small object)
- Multiple fixtures slow or gurgling: points to a main lateral problem—roots, bellied section, or partial collapse
- Recurring grease clogs after cleaning: system-level grease buildup in the main or restaurant interceptor failure
- Sewage smell or backups during storms: infiltration via cracked laterals or blocked storm connections
Concrete example: A Sellwood duplex reported a recurring kitchen sink clog every few weeks despite routine plunging. A camera inspection showed compacted grease adhered along a cast-iron run and a small root intrusion at a joint. The crew hydro-jetted the line, then scheduled a targeted lining of a short section where corrosion was documented — a cheaper, less disruptive option than full excavation.
Practical tradeoff to know: aggressive mechanical cleaning like hydro-jetting clears grease and cuts roots, but it is not always the right first move. If a camera shows fractured clay or severely pitted cast iron, high-pressure cleaning can worsen collapse. That is why a diagnostic camera is not an optional step for multi-fixture or recurring issues.
A common misjudgment is assuming intermittent clogs are caused by disposals or trash—property conditions matter. Mature trees and old transition fittings create latent failure points that show up as intermittent or weather-triggered problems; treating only the symptom will return the issue quickly.
If clogs return or affect more than one fixture, treat it as a system problem and get a camera inspection before choosing a repair method.
Recognizing Symptoms, Basic Diagnostics, and When to Call a Professional
Direct indicator: when a single fixture drains slowly after plunging, the issue is almost always local to that trap or branch. When two or more fixtures show symptoms at the same time, or you smell sewage, treat the problem as system-level and escalate.
Practical diagnostics you can do safely
Simple checks that reveal where the blockage lives. Run water in one fixture while watching others: if the kitchen sink slows only while the dishwasher runs, the branch is suspect. If toilets, tubs, and sinks all slow when another fixture runs, the main lateral is likely involved.
- Map the symptom pattern: note which fixtures are affected, when the problem appears (after rain, during dishwashing), and whether plunging changes anything.
- Photograph and timestamp: take short videos of water level behavior and gurgling—this evidence shortens diagnostic time for a plumber and improves estimate accuracy.
- Test the cleanout carefully: if accessible and you know how, remove the cleanout cap and use a garden hose briefly to see if water backs up from the house side; stop immediately if sewage appears or pressure feels unusual.
Tradeoff to accept: early camera inspection costs more than trying plungers, but it prevents wasted labor and inappropriate methods. In practice, spending on a video camera inspection up front often saves money when the issue is root intrusion, a bellied pipe, or failing joints that snaking will not fix long term.
When a DIY attempt is appropriate. Try a plunger, clear visible trap debris, or use a hand auger for short runs in accessible pipes. Stop if the obstruction does not budge within 10 15 minutes, if you encounter sewage, or if plunging creates bubbling in other fixtures—those are signs you have crossed into a system problem.
Concrete example: In an Alameda bungalow the upstairs shower ran slowly after heavy rains. The homeowner tried a plunger and cleared some hair, but the tub still gurgled when the washing machine drained. A camera inspection (not a second snaking) identified a small bellied section and root fringe at a joint; the correct next step was a focused repair rather than repeated mechanical clearing.
Judgment most owners miss: intermittent or weather-linked slow drains are not minor annoyances—they are early warnings of infiltration or structural distress. Repeated spot-clearing postpones the real repair and increases cumulative cost and risk of full collapse.
Next consideration: if symptoms involve multiple fixtures, document them and schedule a camera inspection before consenting to extensive work. A targeted diagnostic lets a plumbing contractor recommend the least invasive, durable solution—snaking, hydro-jetting, spot lining, or trenchless replacement—based on what the camera actually shows.
DIY Fixes that Make Sense and What to Avoid
Clear starting point: If the blockage is confined to an accessible trap or a single fixture and there is no sewage exposure, modest DIY work can save time and money. Stop and call a licensed plumber as soon as you see backups in multiple fixtures, raw sewage, or recurring clogs within weeks.
Practical DIY tasks you can do safely
- Plunging correctly: Use a flange plunger for toilets and a flat plunger for sinks. Create a good seal, give 8 to 12 firm strokes, and check other fixtures after each attempt to avoid masking a deeper problem.
- P-trap cleaning: Remove the trap under the sink over a bucket, clear debris, and inspect for corrosion or hair build-up. Take a photo of the trap and the pipe material to share with a plumber if the problem returns.
- Short hand auger use: A 3 6 foot hand auger is appropriate for branch-line clogs beyond the trap. Feed it slowly and avoid forcing it past resistance; feel for movement, not brute force.
- Enzyme maintenance: Enzyme-based products are reasonable for monthly maintenance in kitchens and tubs because they digest organic film without harsh chemicals. They are slow acting and not a fix for compacted grease or roots.
Tradeoff to recognize: DIY tools can be effective but also create bigger jobs if misused. A homeowner snaking aggressively can compact grease or push a plug farther into the main lateral, converting a simple branch-line job into an emergency call and a camera inspection.
What to avoid at all costs
- Caustic chemical drain cleaners: Avoid lye-based or sulfuric acid products. They can corrode transitions between old and new pipe materials and create hazardous conditions for anyone opening the line later.
- Power drum snakes and rental electric augers without experience: These tools grab and torque fast. Untrained use damages fittings and can tear softer pipe material.
- DIY high-pressure attempts or shop-vac suction on a mainline: These are unsafe and often ineffective against roots or structural issues.
- Digging without checking permits and utility locates: Excavation near laterals in Portland can trigger permit requirements and hit buried utilities. Check Portland Bureau of Environmental Services before you dig.
Real-use case: A homeowner in Irvington rented a 50 foot power auger to clear a stubborn kitchen clog. The cable pushed the obstruction past the branch into the main lateral, causing a sewage backup that required an emergency camera inspection and professional hydro-jetting followed by a targeted lateral repair. The short DIY attempt doubled the immediate repair cost and extended downtime.
Judgment most people miss: Repeating quick fixes buys time but rarely saves money long term. If a clog returns after a correct DIY attempt, it is usually a symptom of a deeper issue that only a camera inspection or professional service can diagnose reliably.
Professional Drain Services and Technologies: Snaking, Hydro-Jetting, and Trenchless Repairs
Direct point: When a plunger and a hand auger fail, the decision you face is method, not mystery. The three professional paths are mechanical snaking, high-pressure water jetting, and trenchless repair options; each solves different problems and creates distinct follow-up risks and costs.
How pros choose between the three
Mechanical snaking: Used for localized obstructions in branch lines and short runs. Technicians use handheld augers or powered drum snakes (examples include RIDGID Power Spin units) to break or pull plugs. Snaking is fast and lower cost, but it often fails against compacted grease or root mats and can push debris deeper if the operator uses brute force.
Hydro-jetting (water jetting): A professional hydro-jetter blasts the pipe interior with high-velocity water to remove grease, scale, and root intrusion. Typical residential operators run pressures in a broad band depending on access and pipe material. Practical limitation: hydro-jetting works only if the pipe is structurally sound — it will accelerate failure in severely corroded cast iron or crumbly clay. Always pair jetting with a camera inspection first.
Trenchless repairs: Options range from spot patching and cured-in-place pipe (CIPP) lining to full lateral replacement via bursting. Lining is economical when the pipe has continuous length and walls that can host a resin sleeve; bursting is for pipes beyond repair. Tradeoff: trenchless methods reduce surface disruption but can be more expensive up-front and sometimes require careful reconnection of laterals and cleanouts, which impacts cost and permit scope.
Judgment you need: Start with a video camera inspection. In practice, crews who skip the camera wind up overusing snaking or jetting on pipes that need structural repair, which costs more over time. A camera delivers the diagnosis that keeps the first fix from becoming the wrong fix.
Concrete example: In Northeast Portland an older triplex had repeated bathtub and toilet slowdowns. A crew first performed snaking that cleared the toilet but not the tubs. A follow-up camera showed a long grease coating and short root intrusions on a cast-iron run. The crew hydro-jetted to remove the grease, then lined a 10 foot section where roots had weakened the pipe wall — less disruptive than excavation and more durable than snaking alone.
Important tradeoff: Hydro-jetting gives longer-lasting clearance against grease and roots than snaking, but it should not be used on pipes that a camera shows are fractured, bellied, or heavily pitted.
Next consideration: Insist on diagnostics and written options. If the camera shows only debris or a short root, snaking or jetting can be a sensible immediate choice. If it shows structural defects, budget for trenchless lining or replacement and factor permit timelines into scheduling.
Sewer and Drain Camera Inspections: Process, Deliverables, and How to Interpret Results
Key point: You should treat a camera inspection as the diagnostic foundation for any meaningful drain services decision — not an optional add-on. A reliable inspection tells you where the problem sits, what the pipe looks like, and which repair paths are realistic; skipping it turns the first repair into a guess.
On-site workflow and technical steps
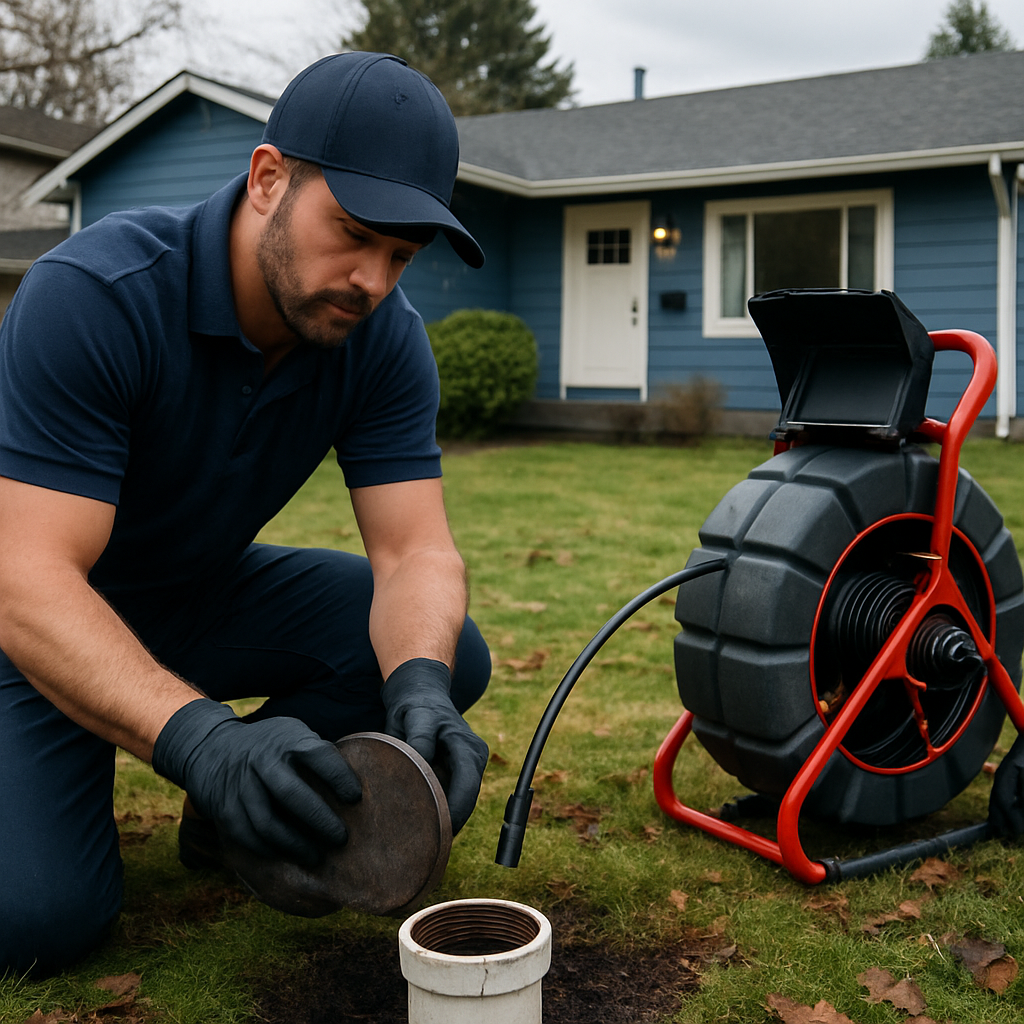
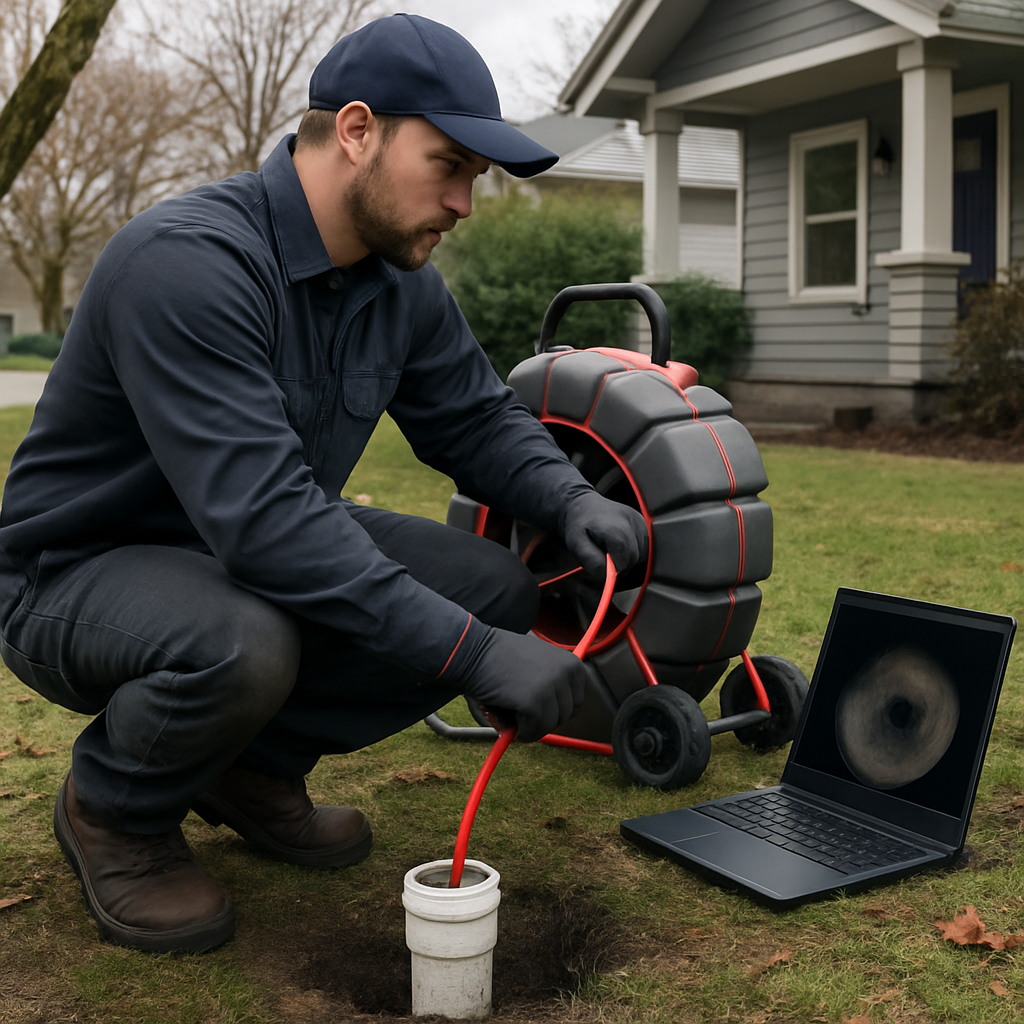
Technicians pick an access point (fixture, foundation cleanout, or street cleanout), insert a push or reel camera, and run live video while recording distance from the access. Most crews use a sonde transmitter inside the camera head so a locator can mark the pipe line above ground. The operator narrates defects as they go, noting pipe diameter, material, and any places the camera cannot pass.
- Typical deliverables: an MP4 of the inspection, time-stamped stills at each defect, an annotated PDF report with distance markers and recommended next steps, and a locator sketch showing sonde positions on the surface
- Equipment commonly used:
RIDGID SeeSnakestyle push and reel cameras and a handheld locator/sonde so the crew can map problem spots for trenchless planning — see RIDGID SeeSnake cameras - What to expect on the file: clear timecodes, distance-to-defect in feet, short operator notes, and an itemized list of repair options with permit notes when the lateral is involved
Interpretation rules that matter: small root hairs versus a root mass mean different things; a grease film that narrows the pipe suggests jetting and routine maintenance, while a bellied section (sag) traps solids and points to structural repair. Cracks with steady groundwater infiltration usually require liner or replacement; collapsed sections rarely accept camera reconnection and mean excavation or pipe bursting.
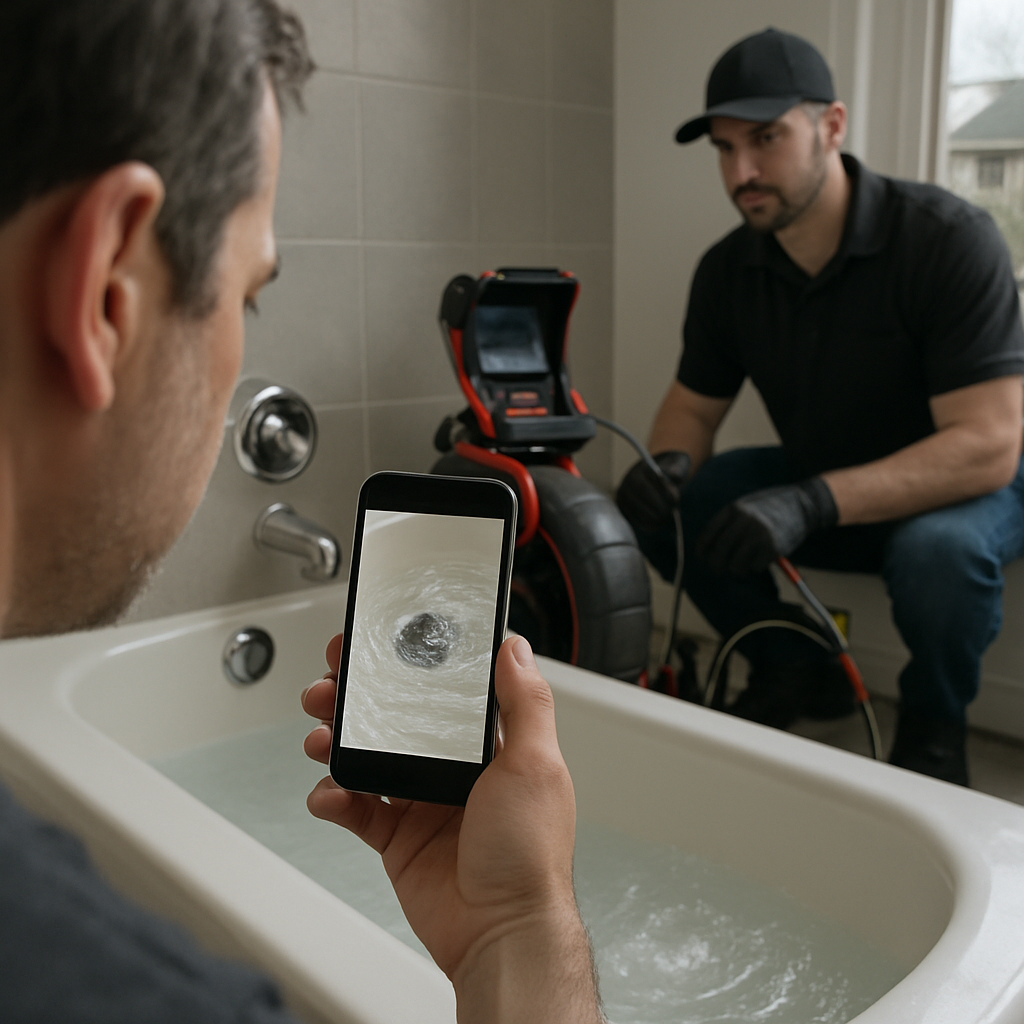
Practical tradeoff: camera inspections cost more than a single snaking call, but they prevent wasted labor and the common mistake of using hydro-jetting on a pipe that is already failing. In real conditions you want pre-cleaning footage to diagnose and post-cleaning footage to verify the chosen method worked and did not expose unseen damage.
Concrete example: In a Richmond bungalow a crew ran a push camera from the foundation cleanout and found a 20-foot grease coating followed by a short bellied clay joint at 28 feet. The inspection files (MP4 plus annotated stills) supported a two-step plan: hydro-jet to remove the grease, then a 10-foot cured-in-place liner for the bellied joint — a lower-impact option than full excavation across the front yard.
Limitation to know: cameras show visible defects but do not measure remaining wall thickness or hidden corrosion behind heavy scale. If the camera cannot physically pass a belly or collapse, expect a follow-up plan that combines a locator, targeted excavation, or sonar-based mapping; insist the contractor documents where the camera stopped and why.
Before approving any work, demand time-stamped video, distance markers, still images of each defect, a sonde locate map, and an itemized option list that includes permit triggers and estimated ranges.
Next consideration: if you have recurring or multi-fixture symptoms, schedule an inspection that includes a sonde locate and ask for pre- and post-cleaning footage — that documentation is what separates a temporary clear from a durable repair plan.
Preventative Maintenance, Permits, and Choosing a Local Plumber
Straight fact: regular, documented drain maintenance plus the right local permits reduces total lifecycle cost of a sewer lateral far more reliably than emergency fixes.
Practical maintenance cadence for Portland properties
Recommended rhythm: older houses with clay or cast-iron laterals and homes under mature trees should get a camera inspection every 12 to 36 months and consider professional cleaning (snaking or hydro-jetting) every 2 to 4 years depending on grease and root history. Newer PVC systems can stretch inspections to 3 to 5 years unless symptoms appear.
Tradeoff to accept: frequent hydro-jetting prevents grease re-accumulation and root mat formation, but on fragile, corroded pipes it accelerates failure. Budget for a camera inspection first — it lets you choose maintenance that prolongs pipe life rather than damages it.
Concrete example: a Sellwood homeowner scheduled proactive hydro-jetting every three years after a camera showed thick grease but intact cast iron. That schedule cut repeat service calls, and two years later a targeted 6-foot cured-in-place liner patched a weakened joint before excavation became necessary — cheaper and less disruptive than waiting for collapse.
Permits and code realities you cannot ignore
Local requirement to note: many lateral repairs and any replacement in Portland trigger a permit and inspection by the Portland Bureau of Environmental Services; plan for permit lead time and inspection windows when scheduling work. See Portland BES for specifics and check relevant plumbing code through the Oregon Building Codes Division.
Practical consequence: permit handling often adds days to a project and changes who must perform reconnections or backfill. A competent local plumbing contractor will quote with permit fees and include inspection scheduling rather than leaving compliance to the homeowner at the last minute.
How to pick a Portland plumber who minimizes risk
- License and insurance: verify a current CCB license and general liability; ask for proof before authorizing work.
- Diagnostic gear: confirm the crew uses video camera inspection equipment and sonde locators (e.g., SeeSnake-style cameras) and has a professional hydro-jetter if they offer jetting.
- Permit experience: prefer contractors who say they will pull permits and coordinate inspections with Portland BES rather than contractors who leave that to you.
- Transparent estimates: insist on itemized quotes tied to camera findings — labor, equipment, permit fees, and contingency for unseen defects.
- Warranty and cleanup: get written warranty terms for parts and workmanship and a commitment to site restoration, especially if excavation is involved.
Judgment call most owners miss: the lowest bid often omits diagnostic costs or permit handling. A slightly higher bid that includes a camera inspection, sonde locate, and permit management usually saves money and headaches when the job uncovers roots or structural issues.
Next step to act on: if you have repeat clogs or multiple-fixture symptoms, book a camera inspection that includes a sonde locate and an itemized, permit-aware quote — treat that diagnostic as the project kickoff rather than an optional add-on.