
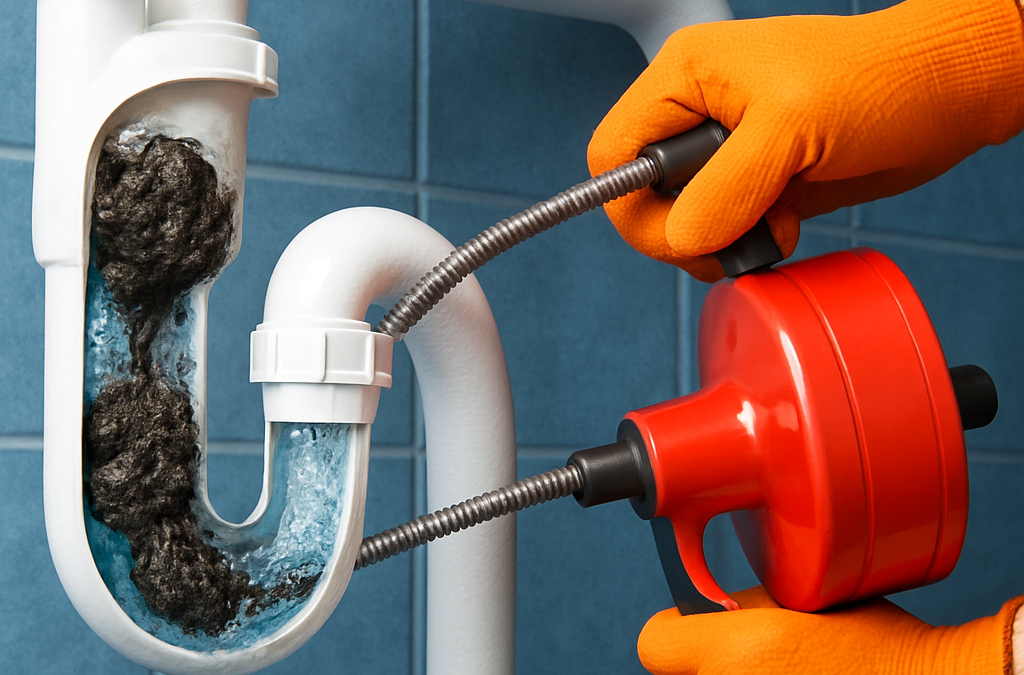
How Clogged Drain Cleaning Services Fix Tough Blockages Without Damaging Pipes
When slow drains or recurring backups refuse to quit, Portland homeowners quickly face a choice between risky DIY fixes and calling a pro who can clear the line without causing more damage. This article explains how clogged drain cleaning services use symptom triage, camera inspection, and pipe-safe methods—from mechanical snaking to controlled hydro-jetting—to remove stubborn blockages and identify when trenchless repair is the smarter option. You will also get realistic expectations for on-site workflow, time and cost ranges, and simple prevention steps that cut down repeat clogs.
How technicians diagnose the problem before touching a pipe
Direct action starts with direct observation. Professional clogged drain cleaning services begin by mapping symptoms to likely failure modes before any tool enters a pipe. That mapping narrows choices from the start: a single slow sink points at a trap or local blockage, multiple fixtures backing up almost always implicate the mainline or lateral, and backups after heavy rain raise concern for a compromised external lateral or root intrusion.
Symptom triage and what it tells the technician
- Single fixture slow or gurgle: P-trap or a localized clog in the branch line
- Multiple fixtures or toilets backing up: Main sewer line or lateral problem that needs mainline intervention
- Sewage odor or slow drains only after rain: Possible tree-root intrusion or ground infiltration in the lateral; consult City of Portland BES
- Intermittent slow drains: Bellied pipe or grease buildup that traps debris seasonally
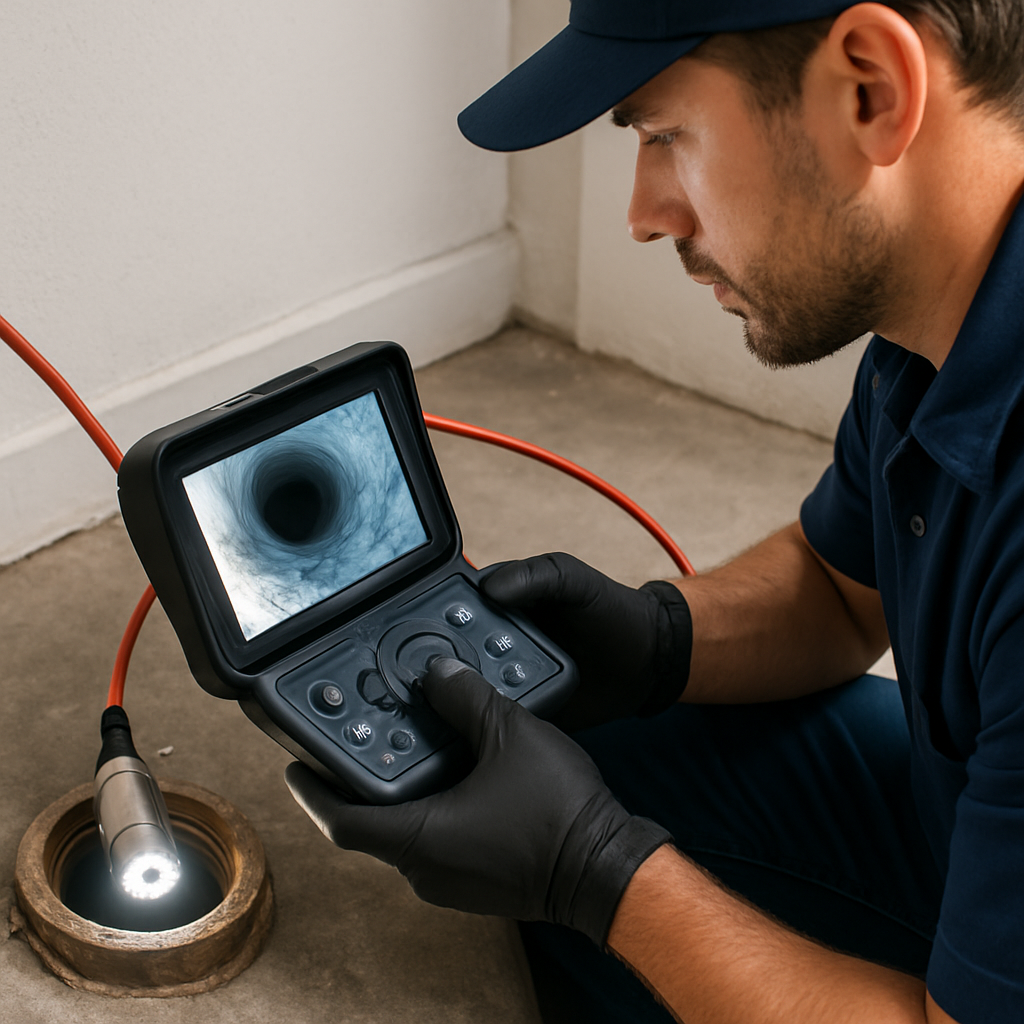
Camera inspection is the game changer. Technicians feed a CCTV camera into the system to locate the blockage, measure its distance from access, and assess pipe material and joint condition. Tools like SeeSnake style cameras are industry standard for this step because they provide depth readings, panning video, and condition imaging that determine whether mechanical snaking, cutting, controlled hydro-jetting, or a repair is the right next move. See NASSCO guidance on video inspection for standards and reporting at NASSCO.
Practical trade off to accept up front. A camera adds 20 to 60 minutes and a small fee to a service call, but skipping it risks choosing a cleaning method that damages weakened pipes or fails to remove an external lateral problem. Conversely, cameras are not a silver bullet: if the pipeline is collapsed or packed solid with roots and soil, the camera may not pass and the crew will need to pivot to excavation or locate a different access point.
Concrete example: A Portland duplex reported toilets backing up during storms and gurgling in the tub. Technicians performed a camera run and found root intrusion starting 14 feet from the cleanout with displaced joints but no collapse. The crew used a controlled root cutter to remove the mass, then a low-pressure hydro-jet to flush residual debris, finishing with a confirmatory camera pass so the owner could see before-and-after footage.
A professional judgment most homeowners get wrong. Customers often ask for hydro-jetting first because of its reputation for thoroughness. In practice, hydro-jetting should follow a camera inspection and sometimes a mechanical cut because aggressive pressure on corroded iron or offset joints will worsen damage. The responsible sequence is inspection, measured mechanical action if roots or tangles are present, then graduated water jetting only when the pipe condition supports it.
Mechanical cleaning tools that remove clogs without high pressure
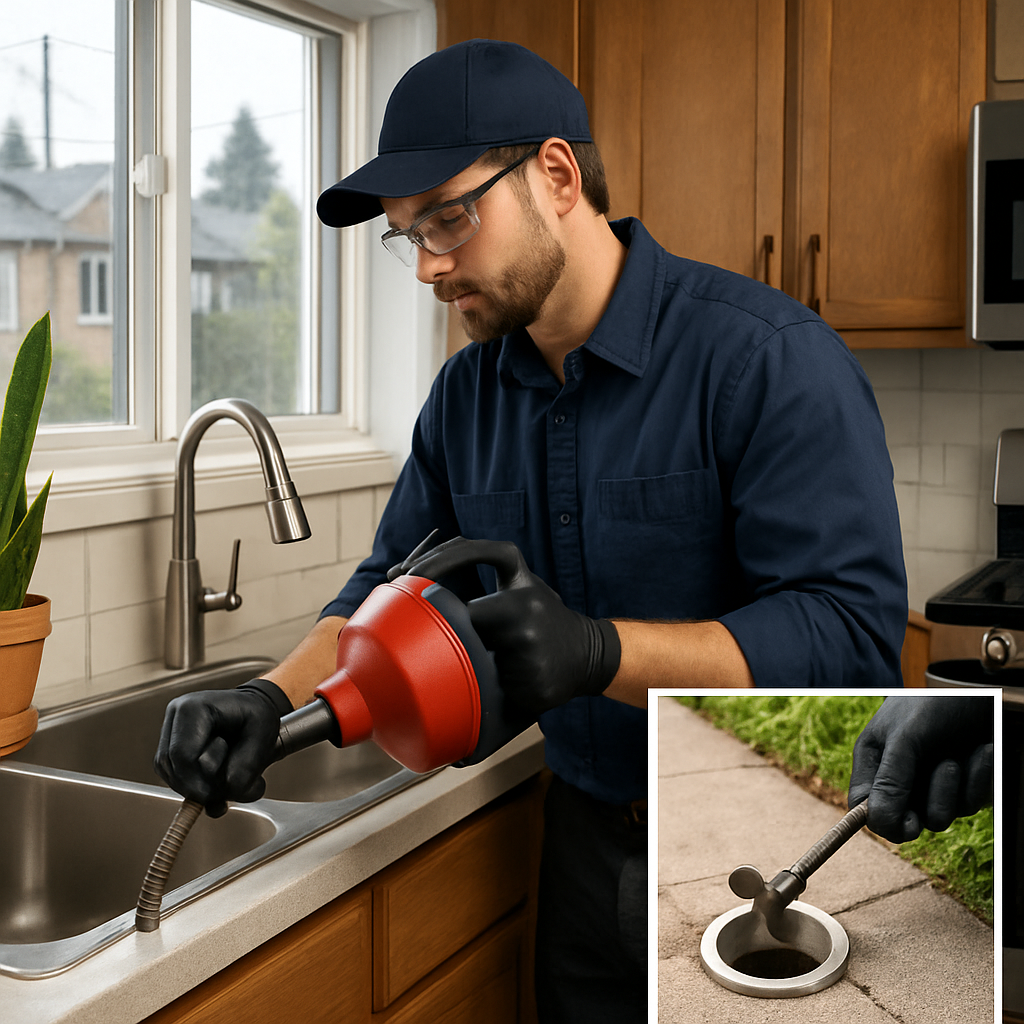
Direct mechanical action is often the safest first move. For many sink, shower, and short-run mainline clogs you do not need high-pressure water; a properly chosen auger or cutting head removes the obstruction with far less risk to older joints and brittle pipe.
Common mechanical tools and when to use them
- Handheld drum augers: compact, ideal for P-trap and sink clogs; fast and cheap for residential kitchen sink unclogging or bathroom drains.
- Powered drum augers (electric): deeper reach for longer interior runs; good for toilet unclogging service where plunging failed.
- Long cable augers with cutting heads: reach mainline distances and cut hair, tissue, and small root tangles; manufacturers such as General Pipe Cleaners make the tooling used by professionals.
- Root cutters and rotary heads: aggressive on roots but operate at mechanical torque rather than water pressure; best for localized root tangles that a cable can shear out.
Practical limitation: mechanical tools cut and pull; they do not remove encrusted scale or hardened grease nearly as effectively as water-based methods. If the clog is a soft mass (hair, wipes, paper, fresh grease), mechanical is efficient. If the pipe wall has heavy scale or fused grease, a mechanic may clear a channel but leave residue that re-clogs faster.
Operator skill matters more than tool power. Wrong head selection or overfeeding a cable can jam on offsets, catch broken fittings, or entangle roots and transmit force into a weak joint. In practice, experienced technicians size cable diameter, rotation speed, and cutting profile to the pipe material and the suspected obstruction.
Concrete example: A homeowner with a persistently slow bathroom sink had hair and soap build-up at the trap; a 25-foot handheld drum auger cleared the trap and a short section of the 2-inch line in under 30 minutes with no excavation. On a nearby duplex, technicians used a long cable auger with a spiral cutting head to remove a 6-foot tangle of small roots in the lateral — it cleared flow but left a recommendation for follow-up inspection because roots can regrow into small defects.
Mechanical methods are the cost-effective, low-risk first line for many clogs — but they are not a universal fix for grease-scale or severe root systems.
Final judgment: For Portland homes with older clay or cast-iron laterals, start with mechanical augering done by a trained operator. It reduces the chance of accidental damage, keeps costs lower, and buys time to decide if a deeper cleaning or repair is necessary. For methods and standards used across the trade, see PHCC.
Hydro-jetting explained: powerful but controllable cleaning
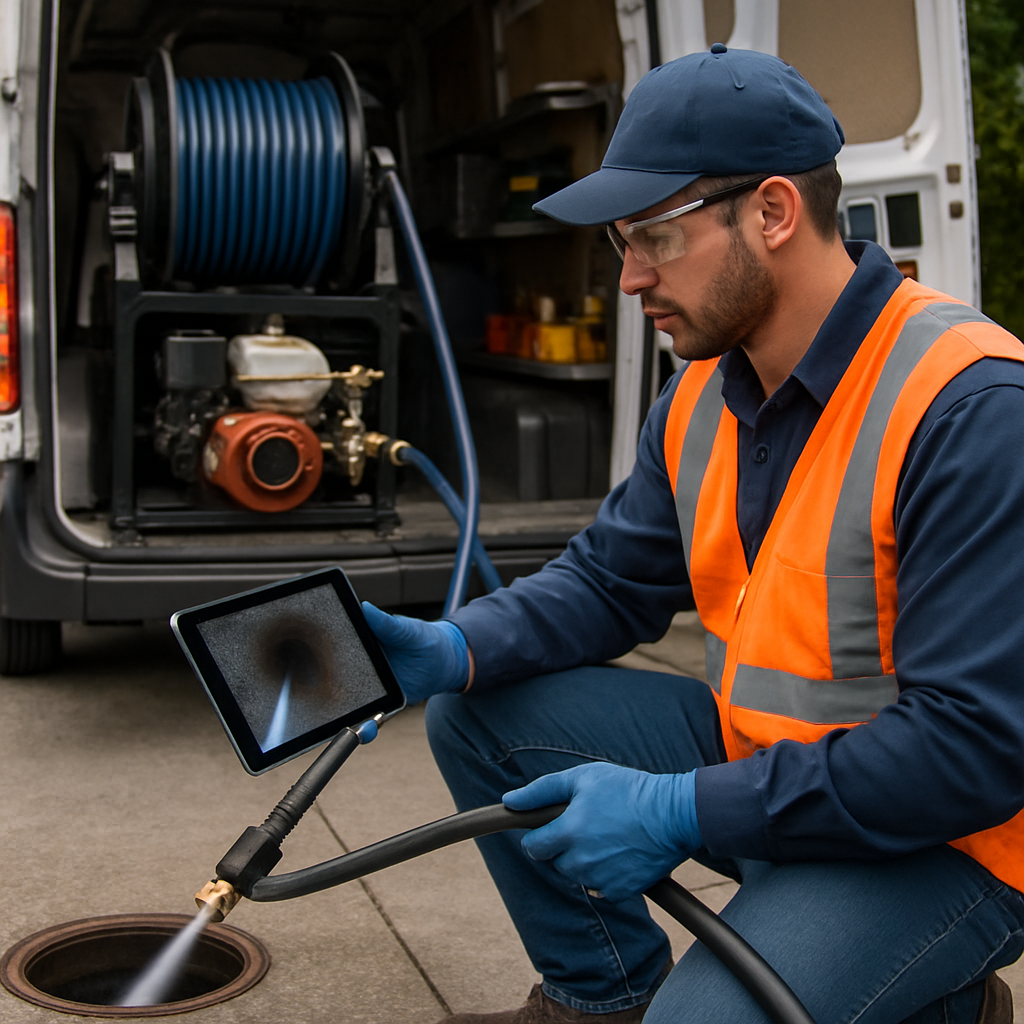
Direct point: Hydro-jetting is the tool professionals reach for when a pipe needs more than a snake — it blasts away grease, scale, and young root growth instead of just poking a hole through the blockage.
How it works: A specialized nozzle sends high-velocity water streams back into the pipe wall to scour deposits while a forward-facing jet clears debris downstream. Residential technicians typically work in the 1,500 to 3,500 psi range with flow rates around 4 to 12 GPM, but the exact settings are chosen to match pipe material and condition rather than a fixed pressure number.
Controlling the power — what separates safe work from risky work
Safety controls technicians use: operators begin with camera confirmation, select a nozzle type (flushing versus cutting), and ramp pressure gradually using a regulator. Experienced crews watch live video and feel the hose feedback; they stop if joints are loose, if the wall shows pitting, or if unusual vibration suggests compromised structure.
Trade-off to understand: hydro-jetting removes material from pipe walls, which is excellent for grease and roots but dangerous on brittle, heavily corroded, or offset-joint lines. In practice that means hydro-jetting is efficient when the pipe is structurally sound; when it is not, the technician should choose mechanical cutting or recommend repair instead.
Concrete example: A Portland bungalow with recurring kitchen backups had a 60 percent grease coating plus minor root intrusion. After a short camera run to confirm joint condition, the crew used a rotating cutting nozzle at 2,200 psi to strip grease and sever roots. A post-clean camera pass showed a smooth bore and the crew recommended quarterly maintenance cleanings rather than immediate lining.
Common misconception: people assume higher pressure always equals better cleaning. That is false. Higher pressure can open a leak or dislodge joint material, creating a worse problem downstream. In real jobs the skill is matching nozzle type and pressure to pipe age, material, and the blockage character.
Operational tip: before any hydro-jet, insist on a pre- and post-clean video and a written statement of the maximum pressure used. If the company is reluctant, treat that as a red flag. River City Plumbing lists video inspection and hydro-jet options on their drain cleaning page. For background on appropriate uses see the PHCC guidance.
Next consideration: If you suspect grease or roots, ask the technician to run a camera first, show you the pipe condition, and state the pressure plan before they start. That sequence is the difference between effective clogged drain cleaning services and avoidable pipe damage.
What to expect during a professional service call and transparent cost considerations
Start-to-finish reality: a professional visit is diagnostic first, execution second. Technicians will interview you about symptoms, run a targeted visual and moisture check, then perform a camera inspection when the issue could be in the mainline or repeated after quick fixes. That sequence matters because it prevents blind aggressive cleaning that can make fragile pipes worse.
Typical on-site workflow
- Arrival and triage: confirm affected fixtures, history, and any recent DIY attempts
- Camera inspection: locate the blockage, measure depth, and assess joint and material condition – see NASSCO for CCTV standards
- Method recommendation and written quote: technician explains options, risks, and a price estimate before work starts
- Execution with controls: cleaning is done stepwise – low-impact methods first, escalate only if safe
- Verification and cleanup: post-clean camera footage, paperwork, and any follow-up recommendations
Practical insight: insist on a before-and-after camera recording as part of the service. It is your proof the work was done and the best way to compare condition now versus later if problems return.
Cost transparency and time expectations: simple sink or P-trap snaking commonly takes 30 to 60 minutes and is the lowest-cost call. A mainline camera inspection plus cleaning typically runs 2 to 4 hours in Portland and requires more labor and equipment. Hydro-jetting or extensive root cutting pushes the time and cost higher; expect higher-end interventions to take a half day on complex jobs.
Ballpark ranges and trade-offs: for planning purposes, local Portland jobs commonly fall into ranges: basic service and snaking often under a few hundred dollars, mainline camera plus cleaning commonly several hundred to low thousands depending on severity, and hydro-jetting or emergency drain cleaning above that. Cheaper providers sometimes skip camera inspection to lower the quote – that reduces upfront cost but increases risk of missed damage and surprise follow-up charges.
Customer deliverables: expect a written invoice, before-and-after video or images, and a short condition summary that states if lining or further repair is recommended. If a technician suggests trenchless repair options, ask for an explanation of why repeated cleanings would be a worse long-term cost.
Concrete example: a Portland rental called with recurring kitchen sink backups. Technician arrived, ran a camera that found grease cake plus small roots 12 feet from the cleanout, quoted a camera-led hydro-jet at controlled pressure, performed the cleaning, then showed the homeowner the post-clean footage and suggested scheduling a lateral lining bid because of early joint separation seen on camera.
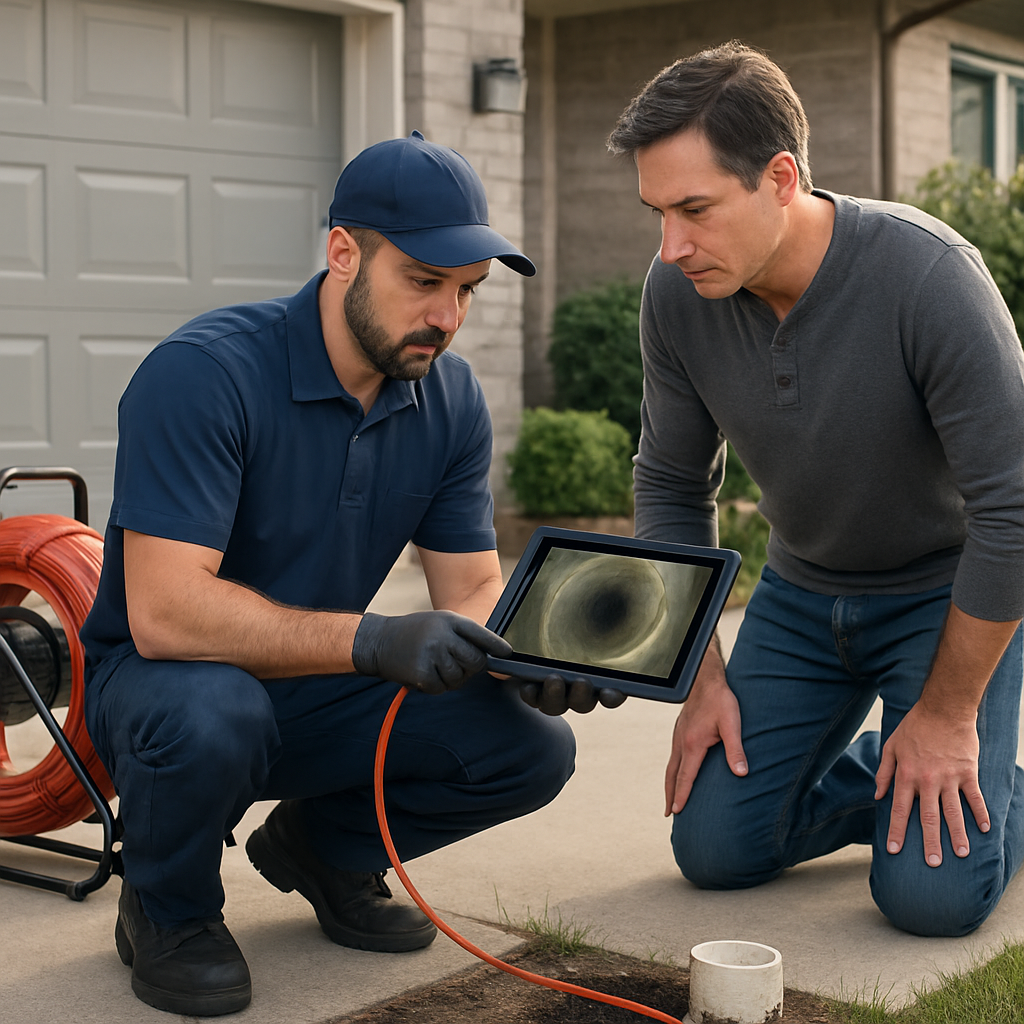
Next consideration: if cost is a major constraint, ask providers for an itemized quote that separates diagnosis, cleaning, and follow-up repairs so you can compare bids fairly and avoid unnecessary upsells. For local service options see Drain Cleaning – River City Plumbing.
When cleaning reveals structural issues: trenchless repair and lining options
Immediate reality check: a successful clean can expose problems that cleaning alone will not fix. When a camera inspection shows collapsed sections, repeated root regrowth through offset joints, or significant corrosion, continuing to clean is just buying time and increasing long term costs.
Trenchless options that keep disruption low
Cured in place pipe lining (CIPP): this method installs a resin saturated liner that cures inside the existing pipe to form a continuous new pipe. It avoids open trenches, preserves landscaping and driveways, and typically restores structural integrity for 20 to 50 years depending on resin and installation quality. Tradeoff: liners reduce internal diameter slightly and cannot fix a completely flattened or severely collapsed pipe.
Pipe bursting: a replacement technique where a bursting head fractures the old pipe while pulling a new pipe into place. It replaces the line without full trenching and keeps the same or larger diameter. Limitation: requires space for insertion and receiving pits and may not be possible where underground utilities are congested or where brittle surrounding soils will not tolerate expansion.
- When to prefer CIPP: offset joints, multiple small cracks, pervasive corrosion that has not completely collapsed the pipe
- When to prefer pipe bursting: large collapsed segments, need to increase diameter, or when lining would reduce flow too much
- When trenchless is not an option: complete collapse, missing segments, or restricted access where excavation points cannot be made safely
Practical consideration: trenchless repairs require a prior camera inspection and often a cleaning run to clear roots and scale so the liner or bursting head can pass. That means you pay for both cleaning and the repair, but it avoids repeated service visits and the larger cost of open trench replacement when timed properly.
Concrete example: A Portland homeowner had monthly sewer backups and camera inspection showed multiple root intrusions and several offset joints along the lateral. River City Plumbing proposed CIPP for the worst 20 foot stretch. The crew hydro-jetted the line, ran a post-clean camera to verify clearance, installed a liner from the cleanout access, and provided before and after footage. Result was stoppage of backups and avoidance of a full yard dig.
Judgment you will not hear from every contractor: repeated cleanings without addressing structural defects is false economy. If camera footage shows recurring intrusion at the same joint or a change in pipe alignment, plan for repair. Trenchless methods are not cosmetic fixes; they are the practical solution when cleaning will not restore structural integrity.
If inspection finds structural damage, expect cleaning plus a separate repair quote. Choosing trenchless often raises upfront cost but lowers total lifecycle expense and disruption.
Practical, pipe-safe prevention steps homeowners can implement
Start simple and consistent. Small daily habits prevent the majority of residential clogs and keep pipe condition stable enough that professional clogged drain cleaning services can do maintenance instead of repairs.
Daily and weekly habits that actually work
- Kitchen first rule: do not pour grease, cooking oil, or food solids down the sink. Capture grease in a jar and throw it in the trash once cooled.
- Strainers and screens: use hair strainers in showers and fine mesh strainers in kitchen sinks. Empty them into the trash after each use.
- Hot-water flush: weekly, run the hottest safe tap water for 30 seconds while working the disposal or after a grease-heavy load to move soft deposits along to the mainline.
- Controlled disposal: compost or trash food scraps; do not use the garbage disposal as the primary waste removal for fibrous or starchy foods.
- Avoid flushing: do not flush wipes, feminine hygiene products, or paper towels. These are common causes of recurring clogs.
Planned maintenance beats crisis repairs. Schedule a professional inspection and light cleaning every 12 to 36 months depending on pipe age and use. For older clay or cast-iron laterals and homes with heavy kitchen use, err on the shorter interval.
Tradeoff to understand: enzyme and bacterial maintenance products are safe and environmentally preferable but act slowly and will not remove tree roots or hard grease scale. Use them as a follow up to a professional clean, not as a substitute when you have frequent backups.
Concrete Example: A homeowner in Southeast Portland had repeat kitchen backups during winter. They installed metal sink strainers, stopped pouring bacon fat down the sink, and scheduled a professional mainline clean and camera inspection every 18 months. Over two seasons the backups stopped and the camera footage showed cleaner walls and no progressive root growth.
Landscape and root management are prevention work, not one-time fixes. If trees are close to the lateral, installing a physical root barrier or selective root pruning reduces intrusion but costs more up front. Chemical root treatments can slow regrowth but will not remove existing large roots and may stress mature trees.
Practical upgrade for property managers: add or relocate an accessible above-ground cleanout on properties with long laterals. It reduces emergency excavation, shortens technician time, and lowers the cost of routine maintenance.
Regulatory and local resources. For Portland-specific guidance on private lateral responsibilities and tree-root issues see the City of Portland Bureau of Environmental Services page at BES Private Sewers. For grease disposal and commercial requirements consult EPA guidance at EPA Food Service Establishments.
Next consideration: if you see repeated grease accumulation, root regrowth, or multiple fixtures slowing down despite good habits, document the occurrences and call a local plumbing expert for a targeted inspection rather than escalating DIY fixes.