

Plumbing for Homeowners: A Beginner’s Guide to Maintenance, Repairs, and Upgrades
This practical guide to plumbing for home gives Portland area homeowners the skills to perform basic seasonal maintenance, diagnose common leaks and clogs, and decide whether a repair is a safe DIY or needs a licensed plumber. You will find a short checklist, three safe DIY fixes with clear stop points, realistic upgrade options with local cost ranges, and what to prepare when calling a local pro like River City Plumbing for emergency or permitted work.
Homeowner Seasonal Plumbing Maintenance Checklist
Start each season with a focused 45–90 minute check. Small inspections—exercising a shutoff, looking under sinks, testing the sump—prevent most emergency calls and stop minor leaks from turning into ceiling or foundation damage.
What to do each spring and fall
- Test main and fixture shutoff valves: Turn each valve a quarter to half turn and back. If it feels gritty or refuses to move, stop – forcing old valves can crack the stem. If a valve is seized, plan replacement rather than forcing it.
- Inspect exposed supply lines and hoses: Check under sinks, behind toilets, and at appliances (washer, dishwasher) for bulging, corrosion, or tape repairs. Replace braided stainless hoses every 5–7 years or sooner if damage appears.
- Check toilets: Lift tank lids, observe refill and flapper seating, and test for slow leaks using a dye tablet or a few drops of food coloring. Constant running or dye in the bowl after 10 minutes means a repair or flapper replacement is needed.
- Flush tank water heater: Drain a few gallons to clear sediment. Annual flushing improves efficiency; skip DIY flushing if the drain pan or valve looks corroded—call a pro.
- Test sump pump and backup: Pour water into the pit to trigger the pump and confirm discharge. In Portland’s rainy season, a working pump and battery backup are worth the cost.
- Clear visible drains and hair traps: Remove shower/tub hair screens, clean P-traps if sinks are slow, and use a drain snake for stubborn clogs. Avoid chemical drain cleaners; they damage pipes and finishes.
- Inspect outdoor hose bibs and irrigation tie-ins: Replace washers, check for leaks, and winterize hose bibs before freezing weather to prevent pipe bursts.
- Watch the water meter: Record the meter before bed with no water use; recheck in the morning. Any movement indicates a hidden leak needing attention.
Practical trade-off: Exercising shutoff valves regularly helps keep them usable, but aggressively turning very old gate valves can break them and create an immediate emergency. When in doubt, exercise gently and budget to replace suspect valves on the next service call with a licensed plumber.
| Task | When | Estimated time | Failure threshold / action |
|---|---|---|---|
| Main and fixture shutoffs | Spring and fall | 15–30 min | Valve won’t move or leaks: schedule replacement |
| Water heater flush | Annually | 20–45 min | Rusty discharge or noisy burner: call for inspection |
| Sump pump test | Before rainy season | 10–20 min | Pump fails to start: replace or get service |
| Inspect supply lines | Spring and fall | 20–30 min | Visible bulging, corrosion, or tape repairs: replace immediately |
| Toilet tank check | Quarterly | 5–10 min per toilet | Continuous running or dye in bowl after 10 min: fix or replace flapper/valve |
Concrete Example: A Portland homeowner tested their sump pump in October, found it sputtering, and installed a battery backup before winter. When a November storm blocked the street drains, the working pump prevented a basement flood that would have cost thousands in repairs.
Key point: seasonal checks are low-cost and high-impact. Skipping them is why most emergency plumbing calls cost more than routine maintenance.
Where to learn more and when to call: For water-saving fixture guidance see EPA WaterSense. If a task looks beyond basic inspection—corroded valves, suspect slab leaks, or a noisy water heater—schedule a professional inspection. Local help and service options are available from River City Plumbing if you want a seasonal tune-up or valve replacement before the rainy season: Portland Plumbing Repair Services for the entire Metro Area.
How to Find and Diagnose Hidden Leaks
Start with the water meter. Hidden leaks most often announce themselves through continuous meter movement or an unexplained spike in your bill. Using the meter is cheap, repeatable, and gives you a binary signal: leak likely or not. That first yes or no will save you time and prevent unnecessary invasive checks.
Quick meter test
- Record the meter reading. Note the digits and take a photo for a timestamped record.
- Stop all water use. Shut off appliance feeds and irrigation. If you cannot stop irrigation, test overnight when sprinklers are off.
- Wait one hour. Recheck the meter. Any movement on a non-digital sweep or a change in a digital meter means flow is occurring.
- Interpret results. Small movement can be a slow leak; continuous steady movement is almost always a significant leak that will cause damage and cost.
- Next step based on result. If the meter moves, move to targeted location checks below. If it does not move but bills are high, check irrigation, a neighbor hookup, or seasonal use before calling a pro.
Where to look first
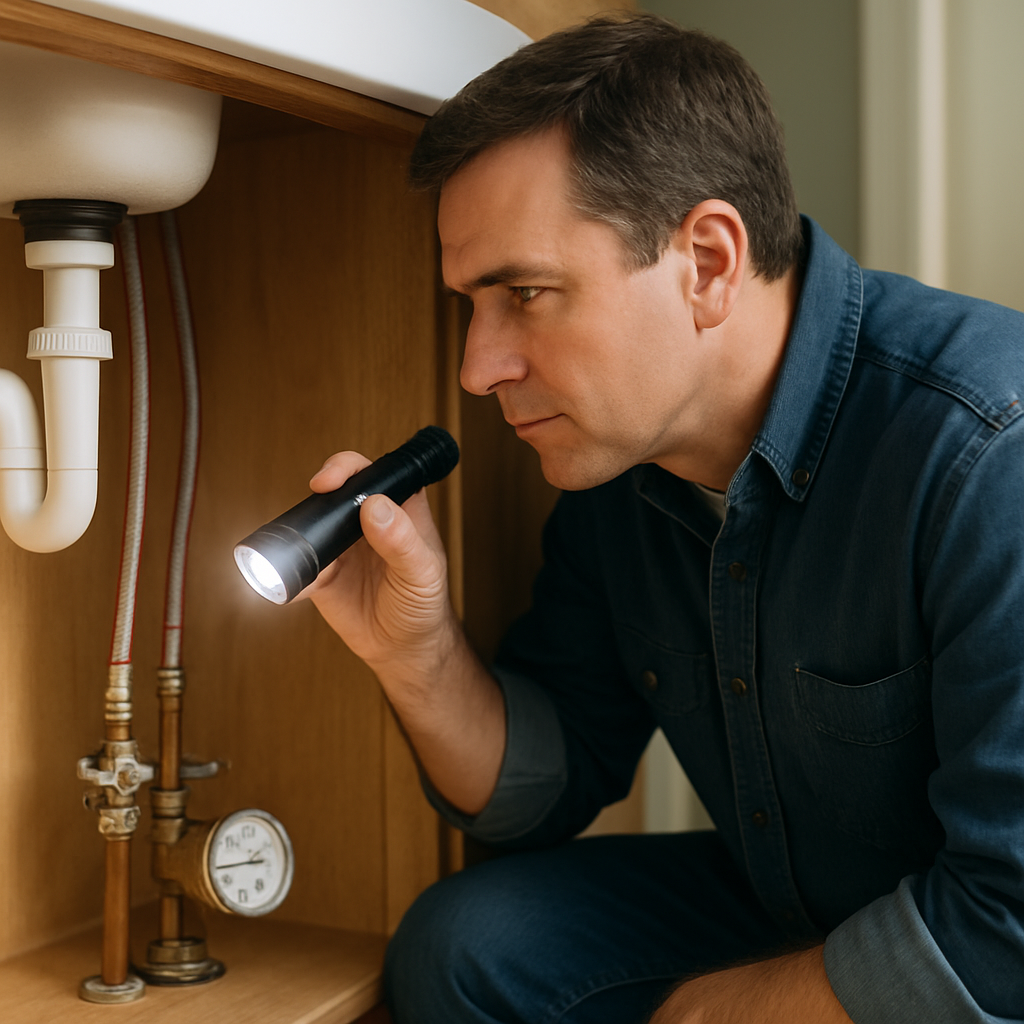
- Toilet base and tank. Use a few drops of food coloring in the tank to detect flapper leaks without dismantling the fixture.
- Under sinks and appliance supply lines. Check for wet cabinet bottoms, corroded fittings, or bulging hose ends on dishwashers and washing machines.
- Water heater area. Look for puddles, rusty tank bottoms, and damp insulation around valves and connections; small weeps can precede tank failure.
- Exterior hose bibs and irrigation. Hose connections and backflow devices fail over time and leak when pressurized.
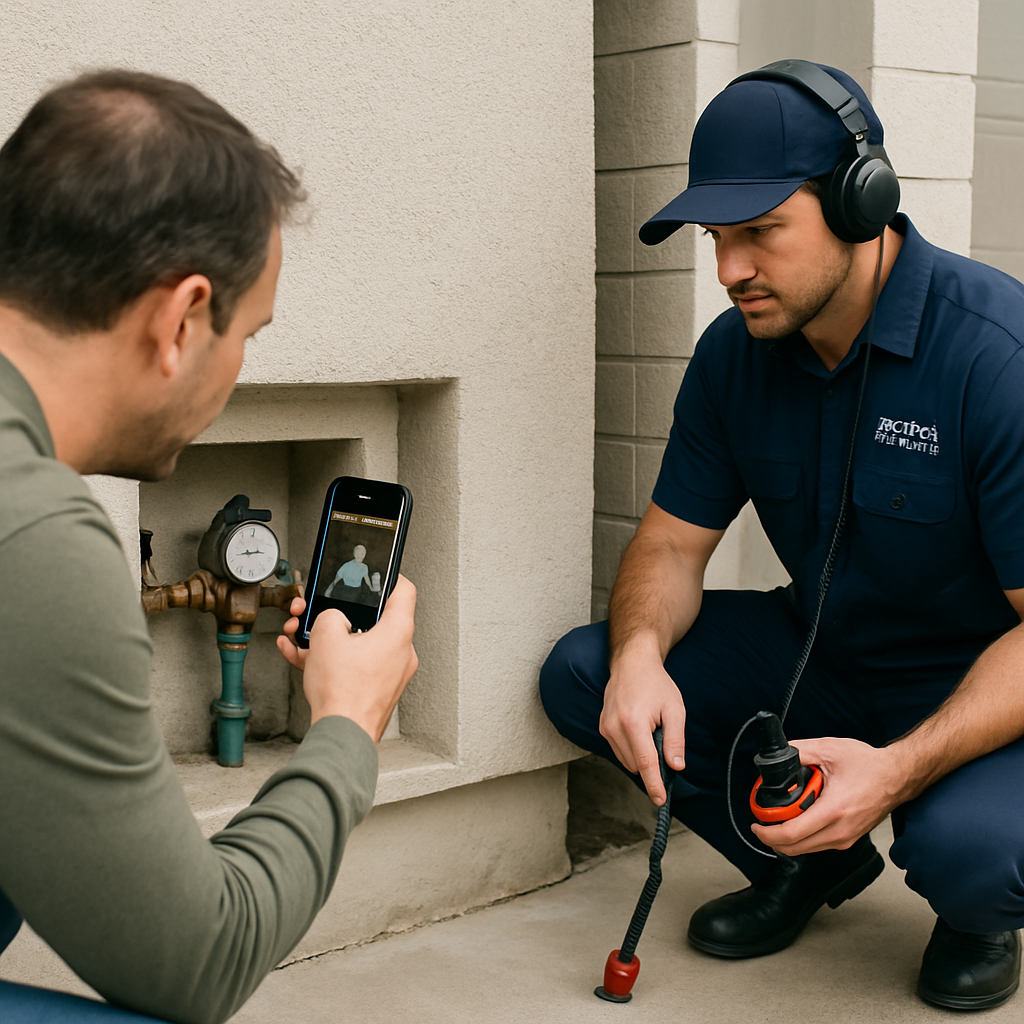
- Slab and foundation signs. Warm patches on slab, localized sinkholes, persistently wet soil, sudden drops in pressure, or the sound of running water with everything off are slab leak indicators that require immediate professional attention.
Practical insight and limitation. Simple tests like the meter check and dye in a toilet find many leaks, but they will not locate leaks under slabs or behind finished walls. Slab leak detection uses listening equipment, infrared imaging, or pressure testing and is best left to licensed residential plumbers with specialized gear. Spending time with DIY detection is sensible; spending days cutting into slabs is not.
Concrete example: A Portland homeowner noticed a 40 percent jump in water use over two months. The meter test showed constant movement with no household use. A visual check found a warm, damp strip on the garage slab and slightly lower water pressure. River City Plumbing used an acoustic leak detector to pinpoint the slab line and repaired a failing copper joint before it caused extensive floor damage.
What to document before you call
- Photos. Meter reading, damp areas, stains, and any warped flooring or baseboard rot.
- Meter timestamps. Photo of meter at time zero and after one hour when possible.
- Symptoms and timeline. When you first noticed the bill change, visible signs, and any recent work in the home.
- Appliance and fixture details. Model names or photos of visible supply lines, water heater make, and age of plumbing in the affected area.
Sample call script for River City Plumbing: I have unexplained continuous water meter movement and a wet spot on the garage slab. My address is followed by best contact number. I can provide meter photos and a recent bill. Please advise immediate next steps and availability for an inspection. Mentioning these specifics speeds dispatch and helps determine if emergency plumbing services are required.
If the meter moves while no water is running treat the situation as a leak and act within 24 hours to avoid escalation.
Three Safe DIY Repairs Every Homeowner Can Do
Start here: do the simple fixes that actually prevent emergency calls. These three repairs—clearing a sink trap, stopping a running toilet, and replacing a faucet cartridge or cleaning an aerator—are the highest-value, lowest-risk jobs most homeowners can handle with common tools and a little care.
1) Unclog a sink: plunger, P-trap, then auger
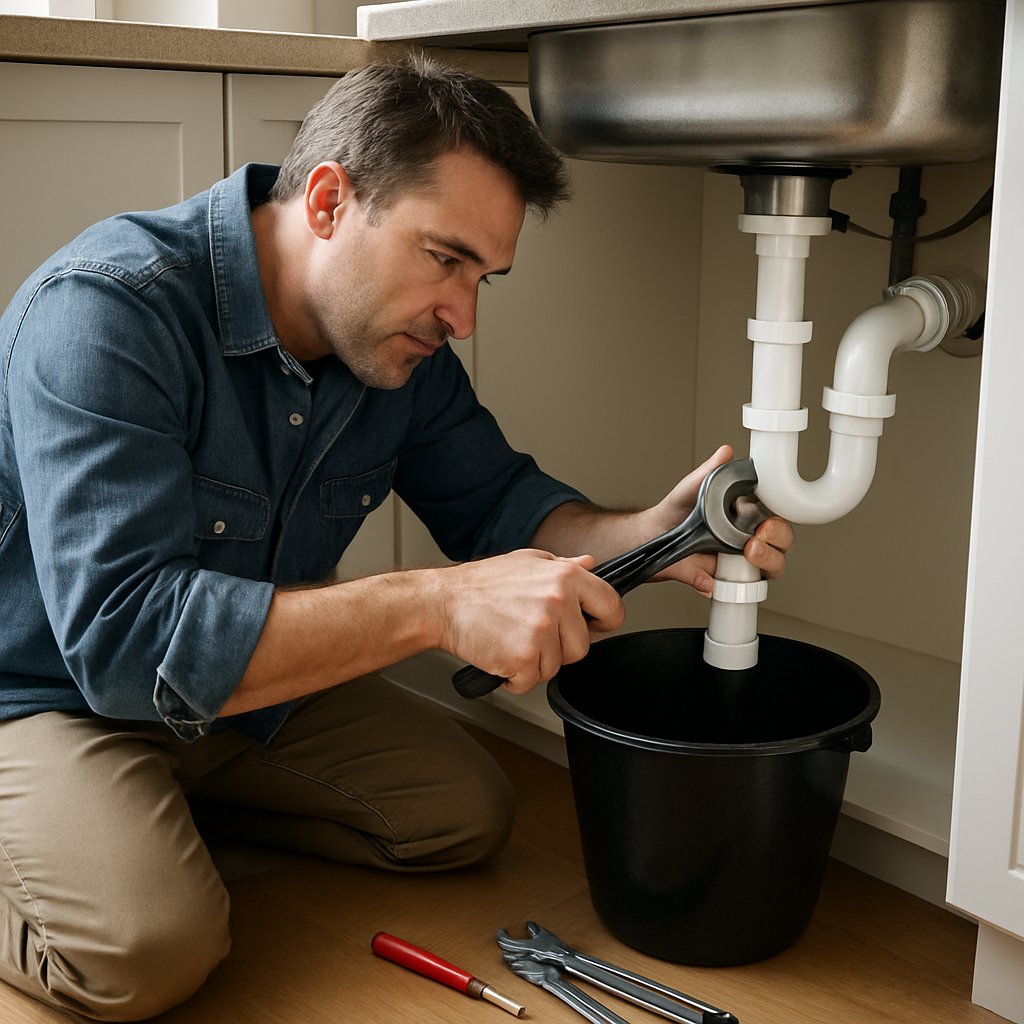
Why this order matters. Mechanical clearing removes the clog without corrosive chemicals that shorten the life of supply lines and garbage disposals. Start with plunging, then remove the P-trap, and only use a hand auger if the trap is clear but the drain is still slow.
- Tools: cup plunger, bucket, adjustable wrench, plumber's tape, 3/8 in sink auger (handheld).
- Steps (quick): 1) Block overflow, fill sink slightly, plunge. 2) Place bucket, loosen slip nuts, remove P-trap, clean. 3) If still clogged, feed auger into tailpiece and rotate; pull out debris. 4) Reassemble and test.
- Time/parts: 20–45 minutes; no parts usually. Auger or new trap washers cost $10–$30.
- When to stop: If you hit resistance with the auger that cannot be turned, if sewage odor is present, or if both kitchen and basement drains back up—call a licensed plumber.
2) Fix a running toilet: flapper, float, then fill valve
Most running toilets are a simple wear problem. Replace the flapper first—this solves roughly half of running-toilet calls—and if the fill level is wrong or floats leak, replace the fill valve. A single part swap eliminates wasted water and stops long-term damage to floors from continuous leaks.
- Tools/parts: adjustable pliers, screwdriver, new flapper (universal options are inexpensive), or a complete fill valve like the Fluidmaster 400A ($20–$35).
- Steps (quick): Shut off water at the toilet valve, drain the tank, remove old flapper, install new flapper, restore water and test. If the bowl keeps running, adjust or replace the fill valve.
- Time/parts: 15–30 minutes; parts $5–$35.
- When to call a pro: If the toilet rocks at the flange, the flange is corroded, or the floor shows soft spots—stop and call a plumber because flange or subfloor repair is not a DIY small job.
3) Stop a leaky faucet: clean the aerator or swap the cartridge
Drips are usually an internal seal or mineral build-up. Start with the easiest: remove and clean the aerator. If the leak is inside the handle, identify the cartridge model and replace it. Replacing a cartridge is a single straightforward valve swap for brands like Moen or Delta.
- Tools/parts: adjustable wrench, hex key set, rag, replacement cartridge (match brand/model), new O-rings if needed; aerator screen cleaner or vinegar for soaking.
- Steps (quick): Turn off sink shutoffs, remove aerator and soak in vinegar, test. If leak persists, remove handle, note cartridge shape, replace cartridge or O-rings, reassemble and test.
- Time/parts: 20–40 minutes; cartridges $20–$80 depending on brand.
- When to call a pro: If the spout leaks at multiple joints, parts are seized with corrosion, or the faucet is old and chrome is flaking—replacement of the whole fixture is often the better decision and a plumber can ensure proper seat and seal.
Practical trade-off: DIY saves money and resolves the majority of minor problems, but it can delay correct diagnosis. Repeated fixes—especially repeated clogs or recurring toilet runs—usually indicate a deeper issue (partial sewer obstruction, failing vent, or degraded flange) that costs more if you wait. Treat DIY as triage, not a permanent cure when symptoms recur.
Concrete Example: A homeowner in southeast Portland had a slow kitchen sink due to congealed cooking oil. Plunging failed, but removing the P-trap revealed a grease ring and coffee grounds. Cleaning the trap and running hot water cleared the line; the homeowner avoided a service call and learned to run a small hot-water flush after heavy grease use.
Avoid chemical drain cleaners for metallic traps and older pipes; they damage seals and can make future repairs harder and costlier. Use mechanical methods first.
Next consideration: If a DIY repair fixes the symptom but the problem returns within weeks, budget for a professional diagnostic rather than repeating band-aid fixes—this avoids higher costs and water damage down the line. For guidance on replacing fixtures with water-saving models see EPA WaterSense.
When to Call a Professional and What to Expect
Start here: call a licensed plumber when the problem risks property damage, health, or code violations. Small drips and simple clogs can wait for a weekend DIY session. Anything that is producing continuous water, sewage, gas smell, structural dampness, or requires cutting into walls or floors is a professional call.
Clear red flags that require a pro now
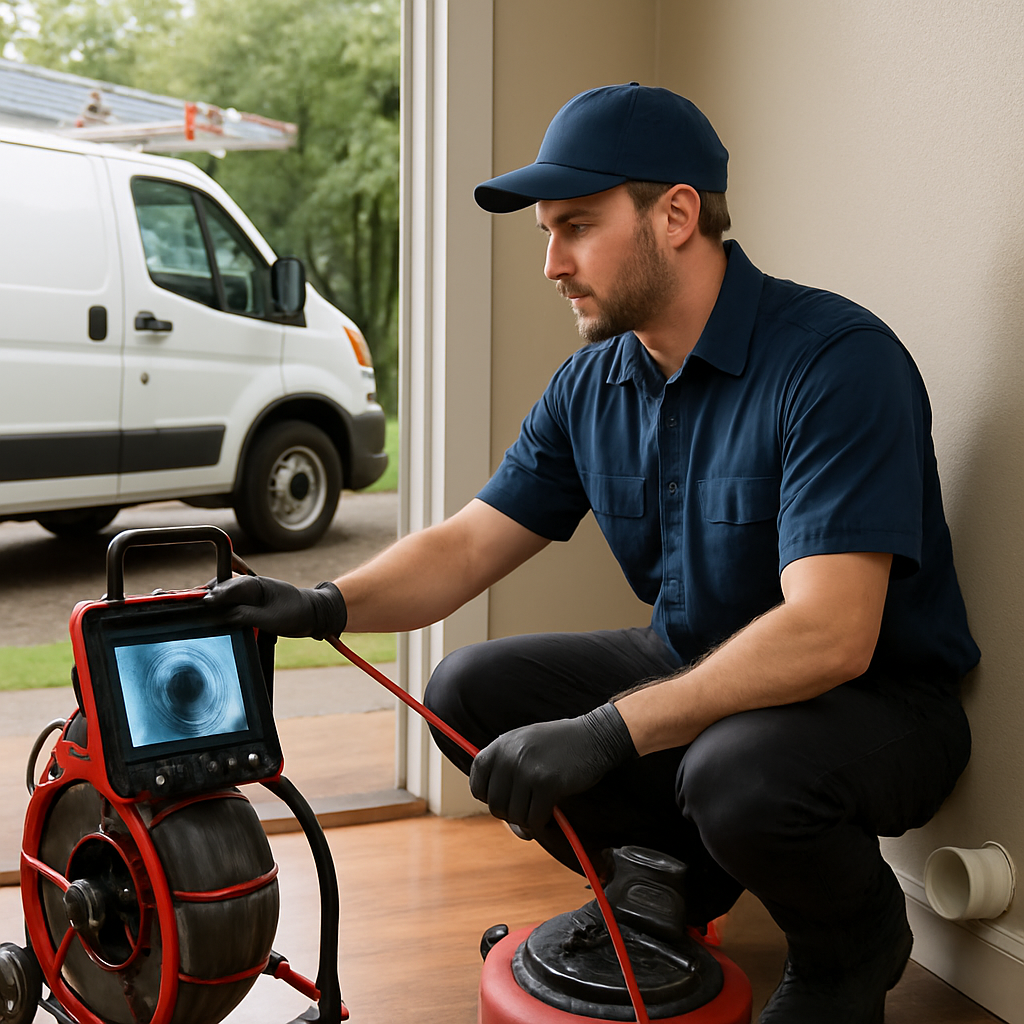
- Sewage backup or multiple drains backing up – indicates main sewer blockage or collapsed line and needs camera inspection and specialized equipment
- Water pooling inside walls or ceilings – likely hidden leak with high damage risk; stop using water and get emergency service
- Major uncontrolled flow – burst pipe, radiator or water heater failure that cannot be isolated with a shutoff
- Gas appliance leak or strong gas odor near water heater – evacuate and call qualified technicians; do not operate electrical switches
- Repeated failures after repair – the initial fix may be masking a systemic issue like failing supply lines or degraded piping
Practical tradeoff: emergency calls cost more but limit water damage and insurance claims. Scheduled diagnostics are cheaper, but delaying can double repair scope if hidden damage spreads.
What a licensed residential plumber will do on arrival
- Triage and safety check – locate shutoffs, verify gas and electrical safety, and isolate the problem to prevent further damage
- Quick diagnostics – visual inspection, pressure checks, and handheld moisture meter or leak detector to narrow source
- Targeted testing – run the water meter, perform dye tests on toilets, or use a camera for sewer lines when indicated
- Estimate and options – present repair choices with costs, permit needs, and timeline; note that uncovering hidden damage can change scope
- Work agreement – written estimate or work order, payment terms, and warranty on labor and parts
Judgment you will not get from a DIY video: good plumbers separate diagnosis from repair. Be wary when a technician offers a single quick fix without documenting findings. The correct first step often is targeted testing that will avoid repeated callbacks.
Real-world example: A homeowner with persistent gurgling in multiple drains called after a month of slow flow. The plumber ran a camera and found a collapsed section near the property line; a simple auger would have been temporary. The camera diagnosis added time and cost up front but prevented repeated emergency calls and an unexpected sewage backup.
Cost and permitting considerations: expect an initial diagnostic fee on scheduled visits and higher hourly rates for emergency calls. Permit requirements in Portland can increase labor and time – ask whether the quoted price includes permits and inspections. If a job needs repiping, water heater replacement, or sewer work the contractor should handle permits or explain the homeowner role.
What to prepare before the crew arrives: photograph the issue, note fixture make and model, record recent water meter reading, and clear access to the area. Have any receipts from prior repairs available to help the plumber avoid repeating past mistakes.
Local resource: if you want a pro familiar with Portland permit requirements and emergency response, consider contacting River City Plumbing for a diagnostic visit and written estimate. For permit details see the Oregon Building Codes Division at Oregon BCD.
Upgrades That Deliver Water and Energy Savings in Portland
Start with the sinks and toilets. Replacing worn fixtures and stopping leaks gives the fastest water savings for the lowest cost in most Portland homes. Upgrades that change flow characteristics or remove standby losses reduce bills, but each carries tradeoffs that affect performance, permits, and payback.
High-impact upgrades and what to expect
- WaterSense toilets and high-efficiency faucets: Best first move for water savings and short payback. Modern WaterSense models maintain flushing performance while cutting gallons per flush. Expect a straightforward install and possible rebate checks with local utilities; replace a 3.5 gpf toilet and you will notice a measurable drop in use.
- Low-flow showerheads and pressure-balanced valves: Good for energy too because less hot water equals less gas or electric used. Tradeoff is perceived comfort – choose models rated for good spray or pressure compensating designs to avoid weak feel.
- Tankless water heater installation: Real energy wins for households with spread-out, frequent hot water use. Practical limits: higher upfront cost, possible need to upgrade gas line or electrical service, and minimum flow requirements that affect performance with low-flow fixtures.
- PEX repiping over copper: Lower labor cost and faster install for whole-house repipes. Consideration: PEX is not UV stable and cannot be exposed in crawlspaces without protection. Repiping delivers long-term leak reduction, but only justifiable when persistent leaks, pipe failure, or lead/galvanized piping exist.
- Smart leak detectors and automatic shutoffs: Prevents large losses and protects finished basements common in Portland. These systems pay for themselves by averting a single major loss but require correct placement and occasional testing.
Practical insight: For most owner occupied Portland homes the best order is leak detection and simple fixture swaps, then showerheads, and only then major investments like tankless heaters or repiping. Simple swaps require little permitting and give immediate savings; bigger projects change plumbing layout or fuel systems and will often require a licensed contractor and permits from the Oregon Building Codes Division [link].
Tradeoff to watch: Low flow does not always equal poor performance. Cheap low flow fixtures can cause complaints and then get replaced with higher flow units, erasing savings. Spend on well reviewed WaterSense models and have flow tested during installation to avoid user rejection.
Concrete Example: A 1950s Portland bungalow replaced older 3.5 gpf toilets and showerheads with WaterSense certified fixtures, then addressed a small continuous leak under the kitchen sink. The combined work cost less than a tankless install and reduced household water use noticeably. Later, the owner upgraded to a tankless water heater when a gas line upgrade was needed for another project, which delivered additional energy savings for their two person household.
Where to get help locally: For toilet and faucet swaps that you want installed correctly and that may require minor drain adjustments, see the River City Plumbing toilet and faucet replacement page [link]. For tankless installs or whole house repiping, hire a licensed residential plumber to handle sizing, venting, and permits to avoid expensive rework.
Cost Ranges, Budgeting, and Financing Options
Expect large variance. A weekday emergency call for a burst pipe will cost several times more than the same repair scheduled and prepared for in advance. Understanding typical local ranges for common jobs and the reasons prices move will stop you from overpaying and from deferring work that creates water damage.
Typical local cost ranges
| Service | Typical Portland range | What moves the price |
|---|---|---|
| Toilet replacement (basic WaterSense model, install) | $250 – $650 | Toilet flange condition, floor repair, wax ring, choice of fixture; Toilet & Faucet Replacement |
| Faucet replacement (single sink, cartridge style) | $150 – $450 | Counter access, cartridge brand, supply line replacement |
| Tank water heater replacement (40–50 gal, gas) | $900 – $2,500 | Vent upgrades, permit, seismic straps, insulation, disposal of old unit |
| Tankless water heater installation | $1,800 – $5,000 | Gas line upsize, electrical upgrades, venting and labor intensity |
| Drain unclogging (service call, snaking) | $125 – $450 | Accessibility, sewer vs. sink, repeated clogs needing camera work |
| Small leak repair (fixture supply line or valve) | $120 – $400 | Type of valve, tile or cabinet access, whether pipe replacement is needed |
| Partial repipe (one bathroom or branch) | $1,200 – $4,000 | Length, PEX vs copper, wall access and finish repairs |
| Whole-house repipe | $6,000 – $18,000 | Home size, material, local permit and inspection requirements |
Practical tradeoff: low bids often omit permit fees or cut corners on access and warranty. That saves money today and risks a code fail or hidden damage later. When evaluating estimates insist on itemized line items for permit fees, materials, labor, and haul away so you can compare apples to apples.
Budgeting and prioritization
- Prioritize water damage prevention. Fix active leaks and failing shutoffs before cosmetic upgrades. Small leaks compound into large repair bills fast.
- Get two written quotes for any job over $750. Ask for itemized estimates and a clear scope of work so you can compare labor hours, parts, and permit costs.
- Ask about warranty and licensed work. Hiring licensed residential plumbers reduces permit risk and ensures code compliance; that matters for resale and insurance claims.
- Plan for contingency. For jobs that touch walls or ceilings, budget an extra 15 to 30 percent for unexpected rot, tile removal, or access work.
Concrete example: Replacing a water heater in a tight Portland basement often looks like a $1,200 job on first estimate. If the existing vent needs relocation and the inspector requires new seismic strapping and a new condensation drain, final cost commonly approaches $2,400. Planning for the higher figure prevents last minute financing stress.
Financing options and what to watch for
Common routes. Homeowners use credit cards, personal loans or HELOCs for larger projects, or contractor financing and payment plans for equipment upgrades. For energy or water saving projects ask about rebates first to lower the financed amount; see the EPA WaterSense program for eligible fixtures.
- Contractor payment plans. Convenient but read the APR and balloon payment terms. Short 6 to 12 month interest free plans can work if you can pay within the window.
- HELOC or home equity loan. Lower interest for big jobs like whole house repiping but increases secured debt on your home.
- Credit card or personal loan. Fast for emergency plumbing repairs but expect higher interest than secured options.
- Rebates and utility incentives. WaterSense fixtures and certain efficient water heaters may have local rebates. Factor these into ROI calculations.
Judgment call: Financing is fine when the work prevents large loss or improves efficiency enough to pay back over a reasonable period. Avoid financing purely cosmetic plumbing upgrades that do not reduce risk or operating costs.
Sample email to request an itemized site visit:
Subject: Request site visit and itemized estimate for [address]
Hello, I need a site visit to evaluate [brief problem, e.g., leaking water heater / replace two bathroom toilets]. Please provide an itemized written estimate showing labor, parts, permits, and haul away. I am available on weekdays after 2pm. My address is [street, city], and the home is a [single family/duplex] built in [year]. Photos attached. Please confirm arrival window and any safety steps I should take before your visit. Thanks.
Preventing Emergency Calls: Long Term Care and Smart Monitoring
Start with risk, not gadgets. Smart detectors and shutoffs only pay for themselves where a failure would cause costly damage — finished basements, crawlspaces with utilities, older water heaters, or homes you leave vacant for long stretches.
Which monitoring and control tools matter
Practical lineup: inexpensive spot detectors, networked sensors, automatic shutoff valves, and whole-house leak controllers. Each has a distinct role: spot detectors alert, networked sensors triangulate leaks, shutoffs stop flow, and controllers add rules and remote control.
| Device | Primary benefit | Typical cost (installed) | When it matters | Limitation |
|---|---|---|---|---|
| Battery spot leak detector | Early alert under sinks and near appliances | $15–$50 | Finished basements, under dishwashers | No shutoff; needs placement at likely leak points |
| Networked multi-sensor (temp + moisture) | Localizes problem, reduces false alarms | $60–$200 | Vacation homes; complex pipe layouts | Needs Wi-Fi or hub; periodic battery changes |
| Smart shutoff valve (Flo by Moen style) | Automatically stops water on major leak | $400–$1,200 (installed) | Older homes with single main supply or high-risk occupants | Can trigger nuisance shutdowns; correct sizing/installation required |
| Whole-house controller with app | Rules, alerts, usage analytics | $200–$800 | Homes seeking leak trends and early meter-based detection | Subscription fees; data privacy concerns |
Key tradeoff to accept: full automation increases safety but introduces complexity. A shutoff valve that trips while you are home can be an annoyance; one that fails to trip because of poor installation defeats the investment. Expect to balance cost, false positives, and maintenance overhead.
A realistic maintenance-and-monitoring schedule
- Monthly: visually check detectors, clear debris from sump and floor drains, and verify sensors show online in their apps.
- Quarterly: test one random sensor and perform a manual shutoff of the main for 30 seconds to confirm the valve operates and you remember its location.
- Biannual: replace batteries in battery-only sensors and update firmware on smart devices.
- Annual: professional inspection of the water heater and main shutoff by a licensed residential plumber; consider a sewer camera if you have recurring backups.
- Every 5–10 years: reassess need for a smart shutoff or repiping if you see recurring corrosion or multiple leaks.
Concrete example: A Portland homeowner with a finished basement installed two spot detectors and a smart shutoff after a previous water heater leak. The sensors alerted overnight to a slow drip at the tank; the controller shut the water before the basement carpet was saturated, avoiding mold remediation costs. That single prevented loss typically justifies the installed cost in similar risk profiles.
What people commonly misunderstand: many homeowners expect smart systems to be maintenance-free. In practice, failure modes are human — dead batteries, ignored app alerts, or disabled automation. Schedule and document device checks the same way you would for smoke detectors.
Real-world judgment: invest in monitoring where failure consequences are high. For low-risk properties, a few well-placed battery detectors plus an annual professional inspection is cheaper and often more reliable than a costly whole-house automation system.
Where to learn more and buy locally: compare devices and installers and check product compatibility before purchase. River City Plumbing can evaluate your home and discuss options; see Portland Plumbing Repair Services for the entire Metro Area. For water-saving context and device selection, refer to EPA WaterSense.
Next consideration: pick a monitoring level based on consequences, not gadget appeal. Once chosen, enforce a simple maintenance rhythm so the system works when you need it.