
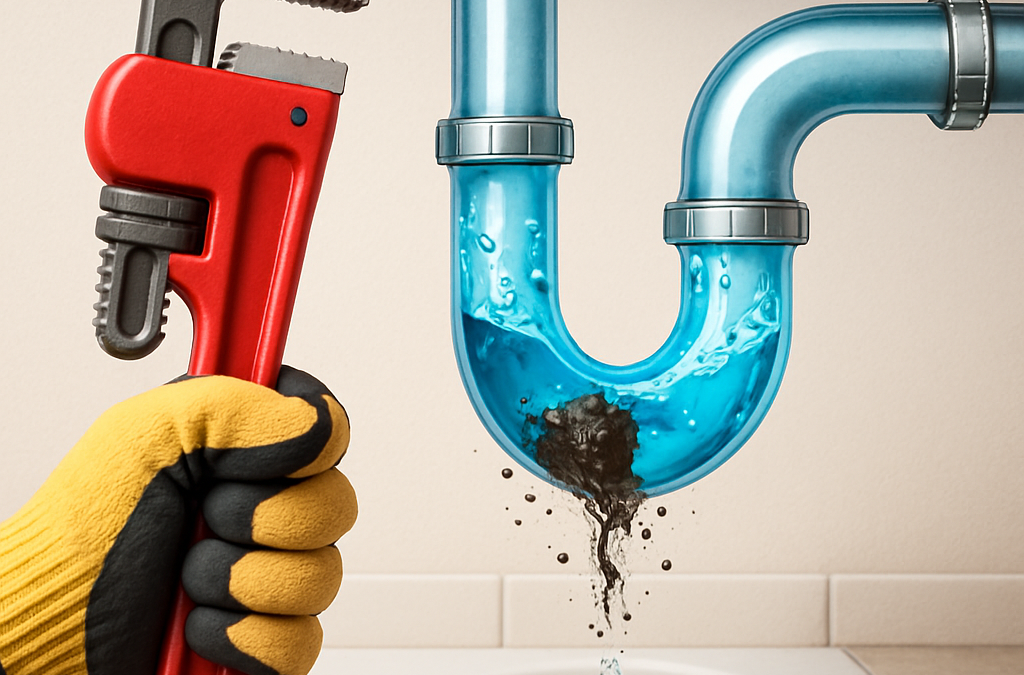
My Drain Was Cleared — Now What? Steps to Prevent Future Clogs and Damage
Your drain was cleared; that first fix is promising, but it does not guarantee the problem is solved. This guide walks Portland homeowners through a quick 24-48 hour checklist to verify the repair, simple daily, weekly, and monthly maintenance to prevent recurring clogs, and the warning signs that mean you should schedule a camera inspection or hydro-jetting with a local pro. Read on for practical, no-nonsense steps you can take right away and when it makes sense to call River City Plumbing.
Immediate 24 to 48 Hour Checklist After a Drain Was Cleared
Do these checks within 24 to 48 hours to confirm the clearance held and to catch problems that show up under normal use. Short, simple tests give you evidence you can act on — either keep doing basic maintenance or call a pro with useful info.
- Flow test: Run hot water for 60 seconds, then cold for 60 seconds. Fill the sink or tub and drain it — note how fast water leaves and whether there is any gurgling or pooling.
- Cross-fixture check: Run and flush other fixtures on the same floor (toilet, shower, dishwasher). If multiple fixtures show slow draining or backup, treat this as a main-line issue.
- Clean visible strainers and traps: Remove the sink strainer and the P-trap if accessible. Look for residual grease, hair, or shredded debris and take photos before cleaning.
- Check the sewer cleanout: Locate the exterior or basement cleanout cap and inspect for standing sewage, slow drain from the cap, or strong sewage odor — signs of a deeper blockage.
- Monitor for signs outside the drain: Walk the yard near the sewer lateral for soggy spots or sewage smell and check the water meter overnight for unexpected usage spikes.
- Document everything: Take time-stamped photos, note the time of the original clearing and the technician name or invoice, and write down any symptoms that reappear.
Practical limitation: A successful flow test doesn't guarantee the line is healthy. Intermittent root intrusion, grease cake, or a partially collapsed joint can pass a single test and fail under heavier loads — only a camera inspection confirms the condition.
Trade-off to accept: Heavy, immediate use (running dishwasher, laundry, and showers back-to-back) gives a strong performance test but can also dislodge material that migrates farther into the lateral and causes a delayed failure. If you suspect grease or roots, avoid high simultaneous loads until you verify the line with a camera or a second clearance.
Concrete example: A renter in Southeast Portland had a kitchen sink unclogged on Monday. They ran the flow test and everything looked fine, but the next morning the dishwasher backed up into the sink — a classic sign the mechanical snake dislodged a grease plug that re-settled. The tenant documented photos and called for a camera inspection; the technician found a grease cake that required hydro-jetting.
What to do next: If you see any recurring slow drains, gurgling across fixtures, sewage smells, or wet yard spots within 48 hours, schedule a professional camera inspection and mention you performed the 24–48 hour checklist — that information saves diagnostic time. For River City Plumbing drain cleaning options, see Drain Cleaning – River City Plumbing.

How to Tell If the Problem Is Truly Fixed or Signals a Bigger Issue
Key point: If the cleared drain stays trouble free for a few days under normal use, it is likely fixed for now. Short lived improvement followed by the same symptoms usually means the root cause was not removed.
How to separate one-off clogs from systemic problems: Watch patterns, not single events. A one-time hair or food blockage typically returns only when you repeat the same bad habits. Recurrence, multiple fixtures affected, odour, or external wet spots point to a line problem that needs professional diagnostics.
Symptoms that mean call a pro now
- Multiple fixtures slow or backing up: When kitchen sink, bathroom sink, and toilet show problems at the same time, the issue is likely downstream in the main line or lateral.
- Sewage smell or wet yard: These are signs of leakage or partial collapse in the sewer lateral and require immediate attention.
- Gurgling or bubbling in fixtures: That indicates trapped air from a blockage or a venting problem – leave it to a technician to diagnose.
- Clogs returning within 7 days: Recurrence that fast suggests grease cake, root intrusion, or an incomplete mechanical clear.
Practical tradeoff: Camera inspection costs more than another round of snaking, but it gives a definitive diagnosis. Choosing another snake run is cheaper short term but often delays the right fix and raises the risk of repeated emergency calls and higher cumulative cost.
Concrete example: A Portland rental had the kitchen sink cleared twice in two weeks. Each time the sink flowed for a day, then slowed while the washing machine and basement floor drain began backing up. A camera inspection found root intrusion in the sewer lateral. The operator chose targeted relining instead of repeated snaking, avoiding repeated emergency trips and ongoing damage.
Quick diagnostic you can do safely at home: After normal use, run hot water for 60 seconds while watching other fixtures. If water siphons, toilets gurgle, or a second fixture reacts, that is evidence the blockage is beyond the trap and you should schedule a camera inspection or call plumbing services.
If you smell sewage, see wet areas in the yard, or multiple fixtures are affected – stop DIY and call a professional immediately.
One more realistic judgment: Homeowners overestimate what a second snake can solve. Mechanical snaking removes the immediate obstruction but does not reveal pipe condition. For recurring problems, insist on a camera inspection first. River City Plumbing offers camera inspection and diagnostic reports on the drain cleaning page at Drain Cleaning – River City Plumbing.
Daily and Weekly Habits to Prevent Future Clogs
Start simple: small daily habits prevent most homeowner clogs. Running a reliable routine after a drain was cleared is cheaper and less disruptive than repeat service visits.
Daily habits
- Use strainers every time: Empty sink and shower strainers into the trash daily. Recommend stainless steel mesh for kitchen sinks and a hair basket for showers.
- Mind the garbage disposal: Run cold water before, during, and for 15 seconds after use. Feed disposals in small batches – no large starchy or fibrous loads like corn husks or celery.
- Quick hot water flush: Once per day run the hottest safe water through the cleared fixture for 30 to 60 seconds to keep loose debris moving.
Weekly habits
- Empty and clean strainers: Wash any grease or hair off strainers into the trash. Grease should never go down the drain; collect cooled grease in a sealed container and toss per EPA guidance.
- Mechanical attention: Run a fast spin with a disposal refresher like a handful of ice and citrus peel once a week, or use a manual sink plunger on slow sinks to dislodge small buildups before they harden.
- Light maintenance flush: Use a pitcher of very hot water plus a small scoop of baking soda followed by vinegar only as a mild, occasional maintenance flush – do not rely on this for grease or root problems.
Tradeoff to accept: daily hot water and strainers reduce most clogs but will not remove a grease cake or tree roots. If a drain slows despite consistent habits, the cost and time of continued DIY maintenance become inefficient compared with a professional camera inspection and targeted service.
Practical limitation: enzyme cleaners such as Bio-Clean or Green Gobbler work best as monthly preventive treatments, not instant fixes. They are safe for routine use but act slowly and will not replace mechanical removal when buildup is compacted or roots are present.
Concrete Example: A Portland property manager I worked with had repeated kitchen sink calls in a four unit building. After a recent drain was cleared, they instituted daily strainer emptying, weekly ice and citrus disposal cycles, and a monthly enzyme treatment. Service calls dropped from monthly to near zero within two months, until a single slow on all fixtures triggered a camera inspection that found roots and led to a focused hydro-jet and relining solution.
Final consideration: pick two habits you will actually keep – strainers and a weekly hot flush are the most effective. Consistent, low effort maintenance prevents most repeat visits and gives you confidence the cleared line stays clear.
Monthly and Seasonal Maintenance Tasks
Start small, stay steady. After a drain was cleared, monthly and seasonal upkeep is where you prevent slow-drip problems from becoming emergency repairs. These tasks are low-effort but targeted: they catch small buildup, debris, and environmental risks before they damage pipes.
Monthly tasks (easy checks that pay off)
- Clean faucet aerators and shower heads. Remove mineral and grit that can wash into traps and cause slow drainage.
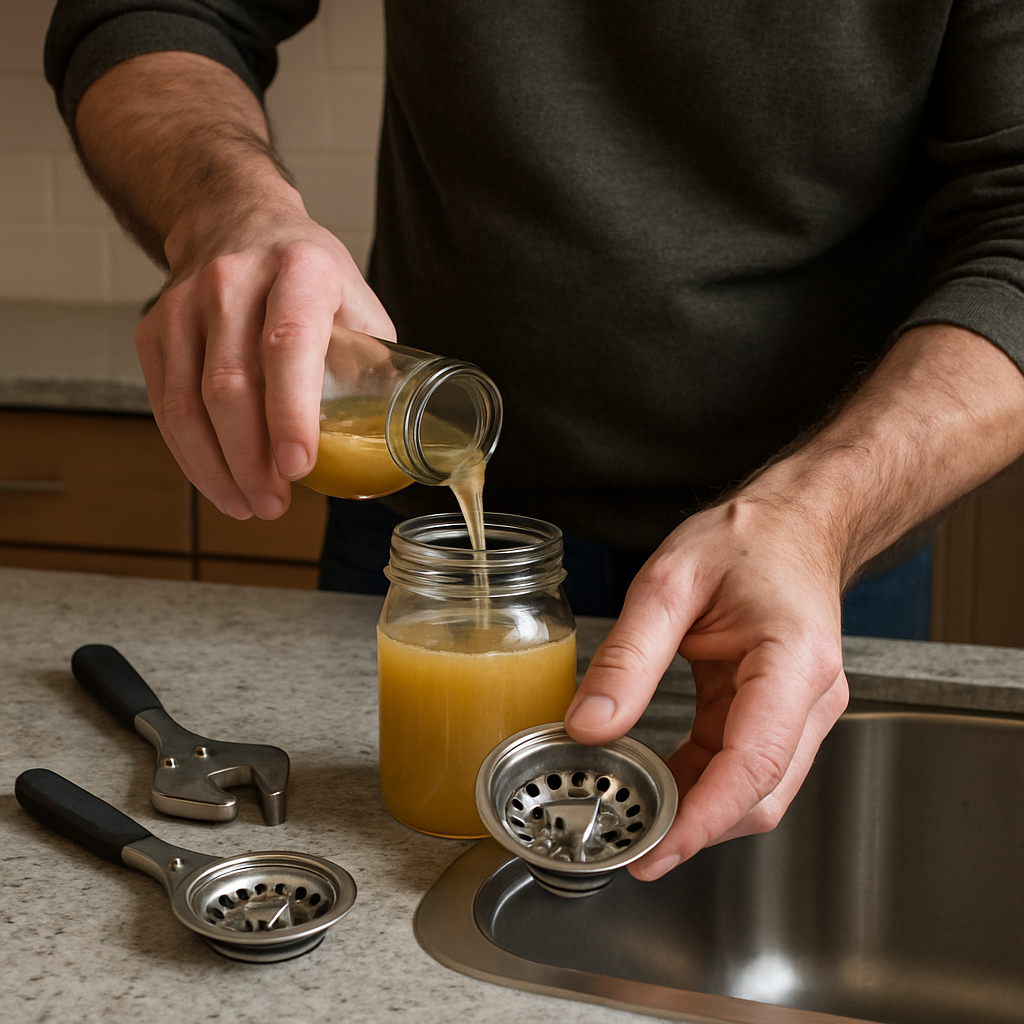
- Empty and inspect accessible clean-outs and P-traps. For sink P-traps, remove, clear residue, and reseat the fittings—do this monthly if you had a recent clog.
- Garbage disposal care. Run cold water and a short grind cycle weekly; once monthly grind a handful of ice and citrus peel to knock off trapped grease and food film.
- Basement and floor drains. Pour a cup of hot water (or follow manufacturer guidance) into floor drains to confirm flow and prevent odors.
Practical trade-off: Monthly work is cheap but not foolproof. If you have heavy grease use, a commercial kitchen, or multiple residents, monthly DIY checks must be paired with professional service intervals; otherwise buildup outpaces maintenance.
Seasonal tasks (do these at least twice a year)
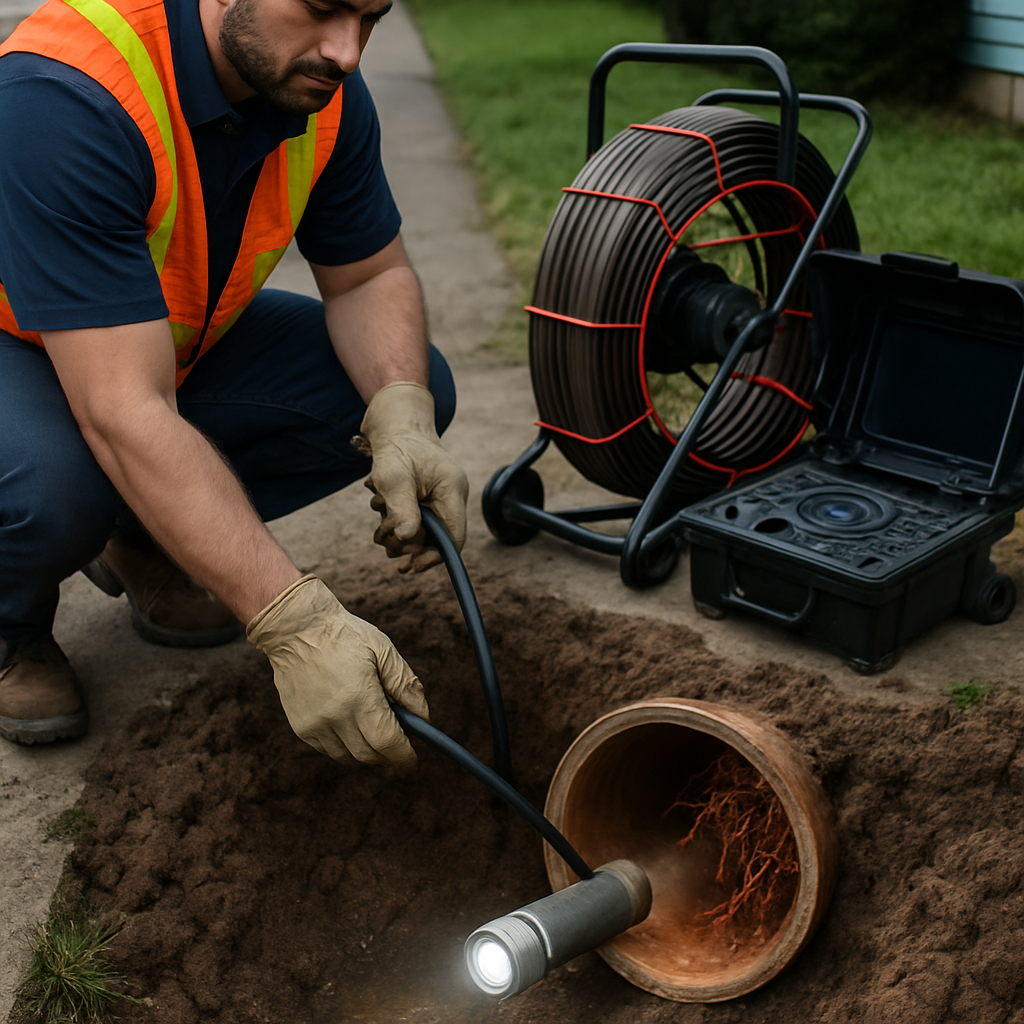
- Spring: camera inspection if you have trees near the sewer lateral. Roots expand quickly in spring—an inspection catches intrusion before collapse.
- Fall: clean gutters, downspouts, and storm drains. Leaves and debris go from yard to street drains and can overload storm-to-sanitary connections in heavy rain.
- Pre-wet season: test sump pumps and clear outdoor drain grates. Failure here is a common source of basement backups in Portland.
- Annually or biennially: schedule professional hydro-jetting or descaling depending on buildup. Use a pro who will assess pipe age first; aggressive jetting can damage brittle, old cast iron.
Limitation to note: Hydro-jetting is effective for grease and roots but not always appropriate for older, brittle pipes. A camera inspection before high-pressure cleaning is not optional; it is necessary to pick the right pressure and avoid making the problem worse.
Concrete example: A Portland homeowner with a 1920s bungalow and a mature maple had repeated kitchen slow drains. After the line was cleared, they scheduled a spring camera inspection and chose annual low-pressure hydro-jetting combined with spot relining of an offset joint. Result: no recurring clogs for three seasons and avoided a full trench dig.
Judgment call: If you live in an older home, manage trees on sewer lines, or run a rental/commercial kitchen, treat seasonal maintenance as a service contract, not a one-off. Book at least an annual camera inspection with a local pro to translate symptoms into the right fix—see Drain Cleaning – River City Plumbing and consult the City of Portland Bureau of Environmental Services for sewer lateral guidance.
Safe Use of Drain Products and When to Avoid DIY Chemical Fixes
Fast-acting chemical openers are a quick fix, not a cure. Caustic products that contain lye or sodium hydroxide can clear an immediate blockage, but they carry real downsides: they generate heat, can accelerate corrosion in older cast-iron or brittle clay pipe, and create hazardous residue for anyone who later works on the line.
Prefer enzyme maintenance for routine care. Products such as Bio-Clean or Green Gobbler use bacteria and enzymes to digest organic buildup slowly. They are pipe-friendly, safe for septic systems, and appropriate for monthly maintenance when your goal is ongoing drain cleaning rather than emergency unclogging.
Practical tradeoffs and when each option makes sense
- Caustic openers – tradeoff: Fast results on hair and grease but risk of pipe damage, hazardous fumes, and heat that can warp seals.
- Enzyme cleaners – tradeoff: Safer for pipes and the environment but slow; ineffective against roots, heavy mineral scale, or solid objects.
- Mechanical snaking – tradeoff: Immediate mechanical removal without chemicals; requires correct tool and technique and can push problems farther down if used improperly.
- Hydro-jetting – tradeoff: Most effective for grease and root mass but should be performed by trained technicians after a camera inspection to confirm pipe condition.
Concrete Example: A renter in southeast Portland used a store-brand caustic drain opener twice at the kitchen sink. The immediate clog cleared, but the second use produced enough heat to blister the old cast-iron trap joint. The technician who later did a camera inspection found corroded fittings and recommended a spot repair that would have been avoidable with enzyme maintenance and a mechanical snake earlier.
Simple operational rules to follow at home. Use one mechanical snake attempt if you are comfortable with the tool – a consumer-grade RIDGID hand auger is fine for hair and small obstructions – then try an enzyme treatment and let it sit overnight. Do not follow a mechanical attempt with a caustic chemical pour; mixing methods can create hazardous reactions and complicate technician access.
When to stop DIY and call a pro. If the drain re-clogs after one mechanical try plus enzyme treatment, or if multiple fixtures are affected, schedule a camera inspection and discuss hydro-jetting or spot relining. For Portland homeowners concerned about older sewer laterals or tree roots, ask for a camera first; that prevents a damaging hydro-jet on fragile pipes.
Long Term Solutions: Camera Inspection, Hydro-Jetting, and Pipe Repair Options
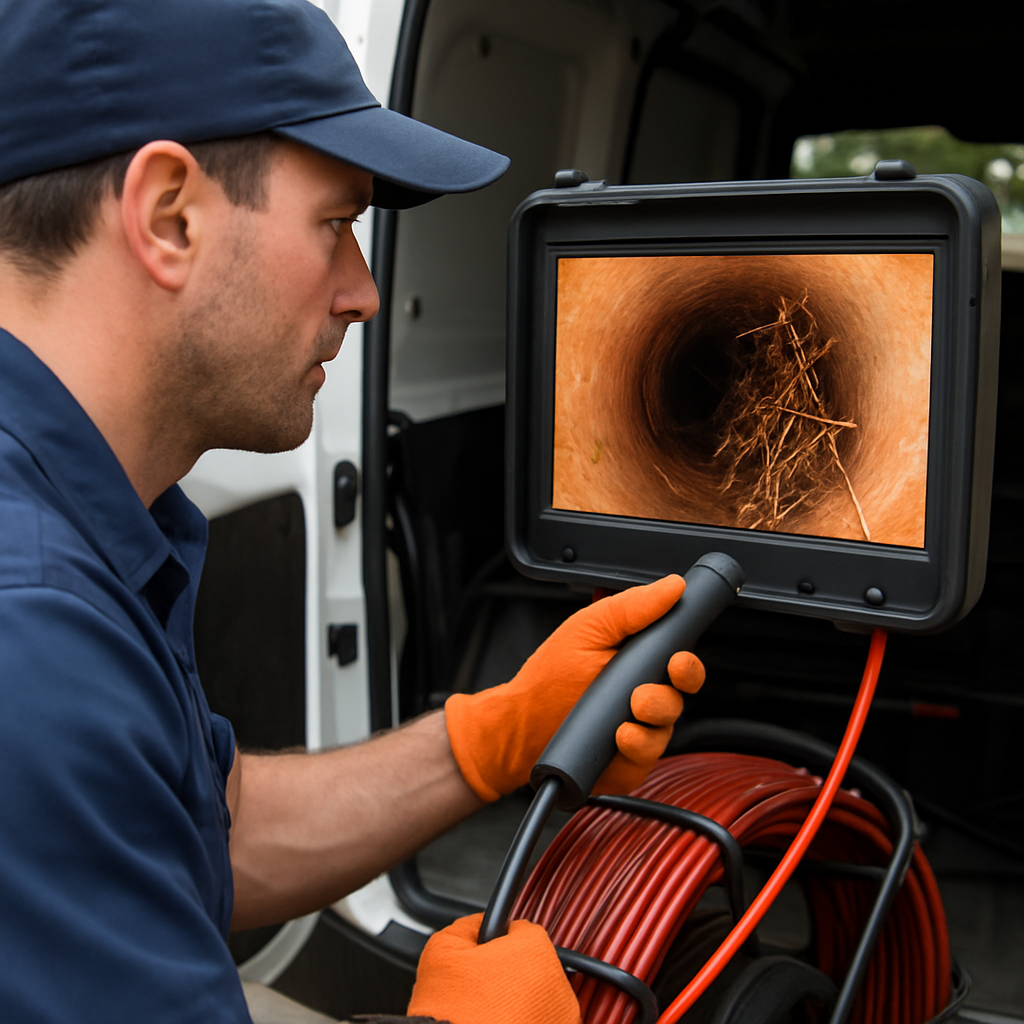
Start with a camera inspection — always. A video inspection is the only reliable way to know whether you have grease cake, root intrusion, offset joints, a collapsed section, or just recurring surface buildup. Technicians use tools like the RIDGID SeeSnake and will record the run so you can see the problem, get a distance to the defect, and keep footage for warranty, insurance, or permitting needs.
Hydro-jetting is the strongest non-invasive cleaning tool, but it is not a cure-all. Properly applied by a trained operator, hydro-jetting uses high-pressure water (commonly 1,500–4,000 psi in plumbing work) to cut through grease, scale, and light to medium root intrusion. The trade-off: if a pipe is brittle, cracked, or already partially collapsed, jetting can make the damage worse. That is why a camera inspection must come first.
Repair choices and what they really mean
- Camera-only diagnosis: Use when you need to confirm the problem or justify next steps. Footage narrows options and prevents unnecessary work.
- Camera + hydro-jetting: Best when inspection shows buildup or roots but pipes remain structurally sound. Removes the material and restores flow without excavation.
- Trenchless relining (CIPP or spot-lining): Choose this when camera shows cracks, joint leaks, or root entry but the pipe alignment is intact. Less disruptive than digging, typical trade-offs are slight diameter loss and upfront cost.
- Open-dig replacement: Required when pipes are collapsed, offset severely, or have multiple damaged segments. More disruptive and expensive, but sometimes the only long-term fix.
Practical limitation to budget and longevity. Hydro-jetting followed by relining often costs more up front than repeated snaking, but it stops recurring service calls and reduces the risk of sewer backups that damage homes. Relining can extend a lateral for decades when done correctly, but it fails if root growth has opened large gaps or soil movement has crushed the pipe.
Concrete example: A Portland duplex had recurring kitchen and laundry slow drains. Camera inspection revealed a long grease cake in the main lateral plus root tips at a joint 18 feet out. Technicians hydro-jetted the line to remove the cake and cut back the roots, then performed a 10-foot cured-in-place liner over the damaged joint. Result: flow restored, no excavation through the yard, and no repeat callouts for two years.
What people get wrong: Many homeowners accept repeated snaking as normal. In practice, repeated mechanical snaking is cheaper short-term but often shaves pipe life and leaves problematic material behind. Camera-driven decisions — clean first, then repair if camera shows damage — avoid wasted expense and can be scheduled with local experts who understand Portland permit rules.
What to Expect When You Call River City Plumbing and Service Checklist
Straight answer: the first visit is as much about diagnosis as it is about clearing the immediate blockage. River City Plumbing will triage over the phone, then run targeted tests on-site before recommending a cure.
Phone triage and scheduling
What they'll ask: expect questions on how long the problem has been happening, which fixtures are affected, any prior DIY chemicals used, and whether you have an accessible cleanout. Be honest about chemical cleaners; that affects technician safety and the chosen tools.
On-site process you should expect
- Arrival & inspection: technician confirms symptoms, checks visible traps and access points, and performs a flow test across affected fixtures.
- Camera inspection option: tech will offer a sewer or lateral camera when causes are unclear or the clog is recurrent—this avoids guesswork and unnecessary digs.
- Clearing method presented: you'll be shown the difference between mechanical snaking and hydro-jetting, with cost and durability trade-offs explained before work starts.
- Quote & authorization: technician gives a written estimate or options and waits for your go-ahead — no surprise charge for unapproved extras.
- Documentation: photo or video from the camera, notes on pipe condition, and recommended next steps provided at the job's end.
Trade-off to understand: mechanical snaking is fast and cheaper up front but often only removes the immediate obstruction; hydro-jetting costs more but removes grease cake and roots thoroughly. If you want a one-time low-cost fix, choose snaking; if you need a longer-term solution, budget for jetting and a camera inspection first.
Concrete example: a Portland kitchen sink that cleared twice in a month led the technician to run a camera. The camera showed a long grease buildup in the lateral; snaking cleared the trap but the problem returned. The tech recommended hydro-jetting and an annual maintenance plan — the customer accepted the jetting and stopped seeing repeat clogs.
Service checklist for you before the tech arrives
- Clear access: empty the cabinet under the sink and move items where a tech might need 3–6 feet of working space.
- Turn off appliances: switch off garbage disposals and dishwashers if they connect to the affected drain.
- Locate the cleanout and utility shutoffs: if you know where your cleanout or sewer lateral access is, note that for the dispatcher.
- Flag previous repairs or chemicals used: write down dates and products if you used drain openers recently.
If multiple fixtures are affected or you smell sewage, request a camera inspection at booking — it costs more up front but prevents repeated service calls.
Post-service expectations: the tech will leave you with a written report, maintenance recommendations (including links to our drain cleaning page), and a clear warranty or follow-up window for the work performed.
Next consideration: if you want to avoid a repeat call, authorize a camera inspection during the first visit when symptoms are more than a one-off—you'll usually save time and money in the medium term.