
Complete Guide to Drain Services in Portland: Clearing, Repair, and Prevention Tips
When a clogged drain or sewer backup happens, you need clear steps and reliable options fast – this guide to drain services in Portland explains how to diagnose the problem, which clearing and repair methods actually work, and when to call emergency plumbing. You will get a simple DIY triage, plain-English comparisons of plungers, snakes, hydro-jetting and trenchless repair, realistic Portland cost ranges, and a prevention checklist focused on local issues like tree roots and aging cast iron lines. Read this before you pour chemicals or schedule a full replacement so you can minimize disruption, avoid recurring clogs, and ask the right questions of any plumbing contractor.
1. Why Portland Homes See Unique Drain Problems
Key observation: Portland homes show a higher rate of mainline failures and recurring blockages because of a combination of aging infrastructure, aggressive tree root systems, and urban grease loading — the result is more frequent demand for professional drain services than most suburban areas.
Local causes you will actually see in Portland
- Aging cast iron and clay pipes: many pre-1970s lines are jointed and corroded, which allows roots to enter and scale to build up; these lines will behave very differently during drain cleaning than modern PVC.
- Tree root intrusion: Portland vegetation and wet soils drive roots toward leaks and joints; root intrusion often shows up as slow backups across multiple fixtures.
- Grease and FOG from urban kitchens: apartment buildings and dense housing concentrate fats, oils, and grease that congeal in mains; follow City of Portland guidance at City of Portland FOG guidance.
- Storm patterns and combined systems: heavy rain can overload older mains or expose failing laterals, causing intermittent backups after storms.
Practical tradeoff: aggressive clearing methods like high-pressure hydro-jetting remove roots and scale effectively, but they carry a risk on brittle cast iron or heavily deteriorated clay. A short camera inspection first reduces the chance that a well-intentioned cleaning converts a repairable pipe into a full replacement job.
Concrete example: A Portland bungalow reported toilets backing up on the first floor after a rainstorm and gurgling in the shower. A technician used a cleanout camera and found active root intrusion at a bell-and-spigot clay joint two feet from the curb. The crew performed mechanical root cutting and then recommended cured-in-place lining to avoid digging up the yard; the homeowner avoided large landscaping disruption but paid permit fees and lining costs.
Common misjudgment: homeowners often treat recurring hair or grease clogs with repeated chemical cleaners or plunging. In Portland those symptoms frequently mask a failing mainline or roots. Repeated temporary fixes increase the chance of an unexpected collapse or sewage backup during a heavy rain event.
If multiple fixtures back up, assume a mainline issue and get a camera inspection before more aggressive cleaning.
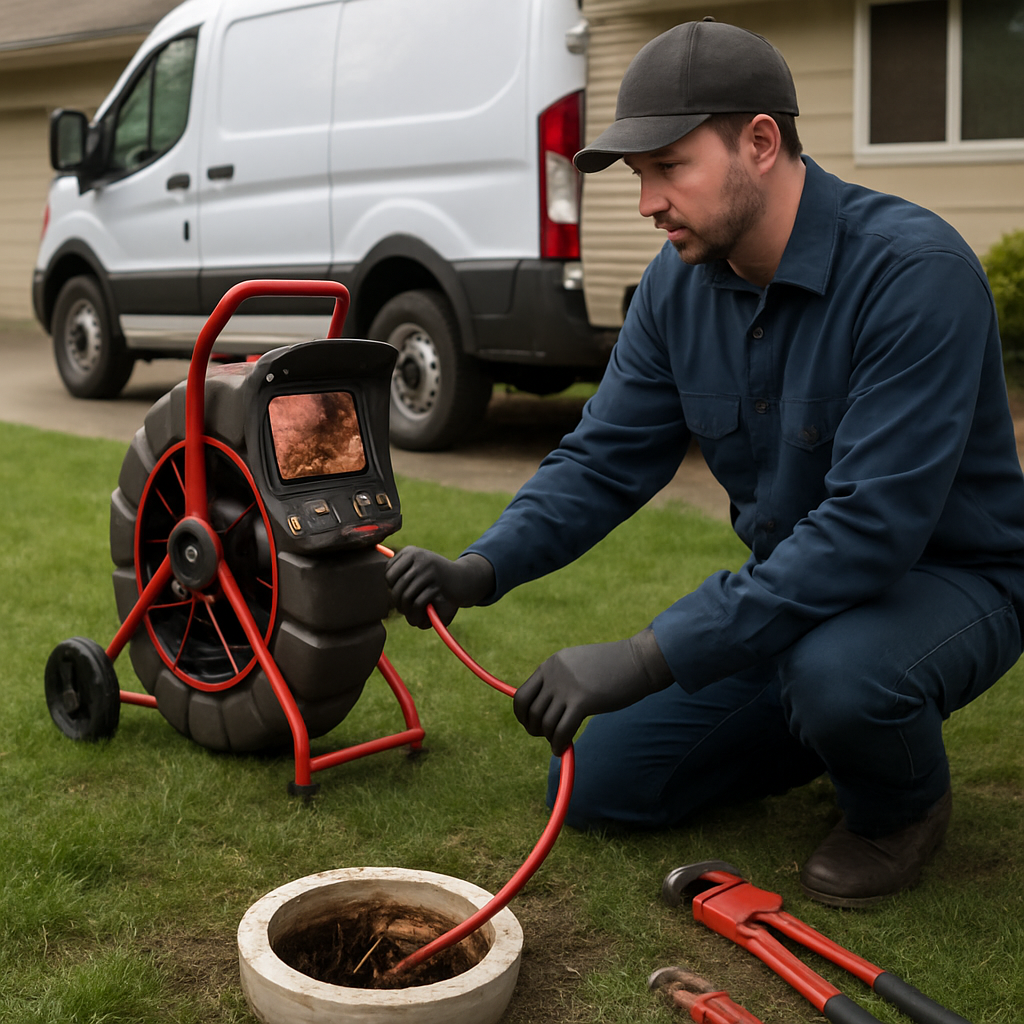
Next consideration: when you call for drain services in Portland, prioritize contractors who demonstrate local experience with cast iron, rooter service techniques, and permit handling — that experience changes both the recommendation and the long term cost. For local service options see River City Plumbing Portland Plumbing Services.
2. Step by Step Diagnosis: How to Assess a Drain Problem Safely
Start local and work outward. Begin with the simplest checks that tell you whether the issue is a single fixture, a branch line, or the main sewer line before you risk tools or chemicals that can make a problem worse.
Quick homeowner checks (do these first)
- Scan multiple fixtures: run cold water in the sink while flushing a toilet and watch for slow draining or backups in other drains; if more than one fixture reacts, suspect a mainline issue.
- Listen and smell: persistent gurgling, bubbling toilets, or a sewage odor in the drain area indicate a deeper blockage or a venting problem and increase the need for professional help.
- Cleanout inspection: locate the sanitary sewer cleanout, open it slowly while standing back; bubbling or overflow at the cleanout means the mainline is blocked and you should stop further DIY.
- Isolated sink test: plug other sinks, run water into the suspect drain and watch for trapped air or surging in other fixtures to localize the clog to a branch or the main.
- Document timing and recent events: note when the problem started and any recent work, heavy rain, or landscaping—this information shortens diagnosis for a technician.
Safety first. Wear gloves and eye protection when inspecting a cleanout or a backed up drain; do not mix chemical cleaners with mechanical methods, and do not open a cleanout if the area has electrical outlets or equipment at risk of contamination.
Simple tests to localize the clog
- Isolated plunging test: cover overflow vents, seal the plunger, and test a single fixture. Success here means a localized trap or tailpiece clog.
- Branch vs mainline quick check: if basement floor drains or multiple downstairs fixtures back up when upstairs drains run, odds strongly favor a mainline blockage.
- Bucket flow test at the cleanout: pour a measured bucket of water into the cleanout and observe flow; slow or no flow confirms obstruction near or in the mainline and justifies camera inspection.
Practical tradeoff: a camera inspection costs money up front but usually saves time and prevents needless damage. Paying for a video camera inspection often avoids excavating the wrong spot or overusing aggressive clearing methods that may harm old pipe.
When to stop and call a pro
- Sewage or overflow present at fixtures or cleanout – stop DIY and call emergency plumbing or a 24-hour plumber; raw sewage is a health hazard.
- Recurring stoppages after temporary fixes – repeated clogs point to roots, collapse, or severe scale and need
camera inspectionand a professional plan. - Hard stoppage that a hand auger will not clear – motorized machines, hydro-jetting, or pipe repair may be required and these can damage brittle pipes if used without inspection.
What a useful camera report looks like. The technician should provide timestamped footage with distance markers, a clear description of blockage type and location, and recommended next steps such as hydro-jetting, root cutting, or lining. Ask for the footage file before clearing starts.
Concrete example: A Portland duplex reported slow drains in both kitchens and a gurgling basement floor drain. A camera inspection using a RIDGID SeeSnake located root intrusion 14 feet from the cleanout; the plumber performed targeted mechanical root cutting and scheduled hydro-jetting a week later to clear remaining debris and map the line for future lining if needed.
Judgment that matters. Homeowners often try repeated chemical or mechanical attempts on the wrong area. In practice, a short diagnostic sequence – local checks, cleanout observation, and a camera – reduces cost and collateral damage more reliably than repeated snaking. Spend diagnostic dollars early.
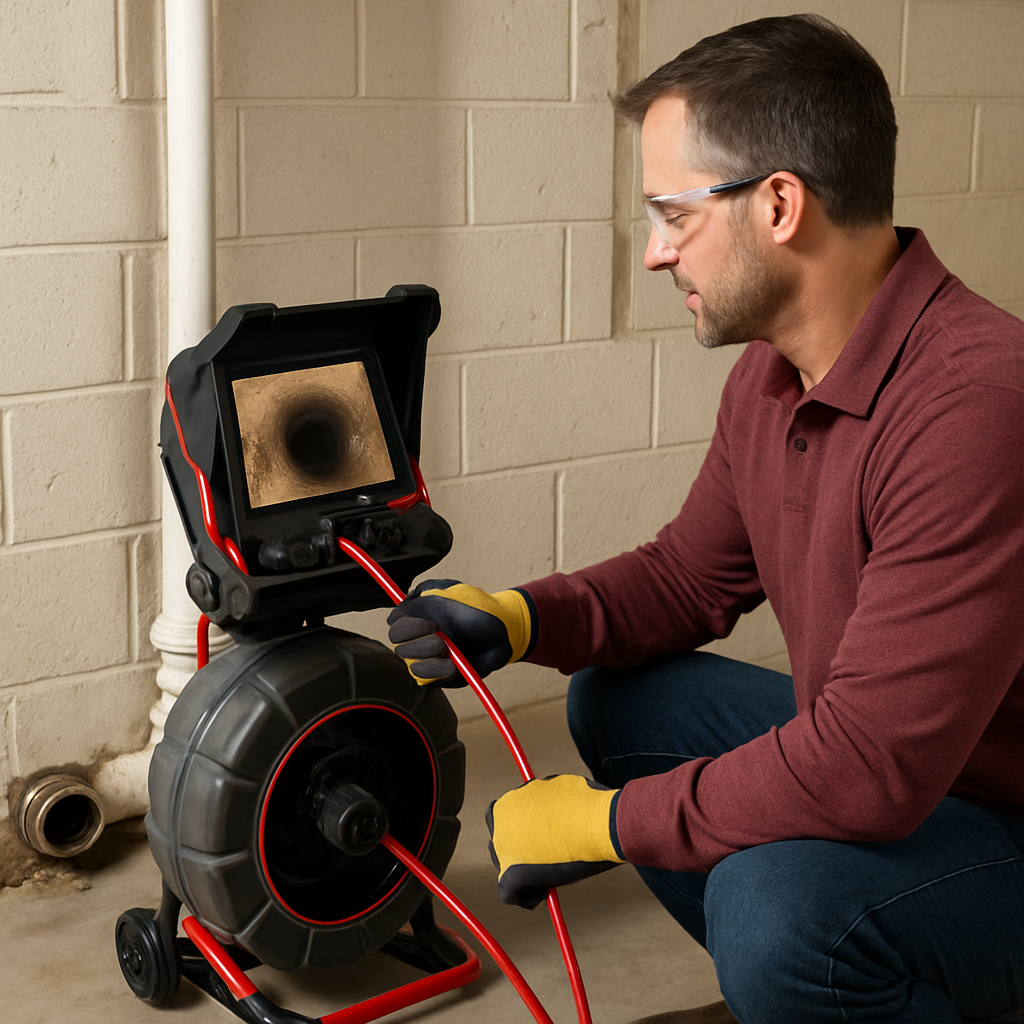
Next consideration: after diagnosis, choose a clearing or repair path based on the camera findings; the decision point is whether the line needs cleaning only, root remediation, or a structural repair such as trenchless lining.
3. Clearing Methods and How to Choose Between Them
Not every clogged drain should be attacked the same way. Choose a method based on where the clog sits, what is blocking the pipe, and the condition of the pipe material. Wrong tool on the wrong pipe increases cost and creates new damage — especially in older Portland cast iron and clay lines.
Common clearing methods and when they work
Plungers and hand augers: Effective for isolated, soft clogs — hair, soap, food debris in a sink or toilet. Use a sink or toilet plunger first; follow with a hand auger for deeper trap-side blockages. Limit: these tools won't remove scale, grease build-up, or roots.
Motorized augers / sectional machines (rooter service): Good for stubborn branch-line blockages and cutting through roots that have invaded a joint. They work quickly in short runs but can nick pipe interiors and push debris further down if the camera hasn't localized the issue first.
Hydro-jetting / high-pressure water jetting: The most reliable method for heavy grease, mineral scale, and root intrusions in many situations. Hydro-jetting cleans the full pipe circumference and restores flow. Trade-off: very high pressure can damage brittle or badly corroded pipes — always pair with a prior camera inspection.
Enzymatic cleaners and mild biological products: Useful for ongoing maintenance to break down organic film. They are not an emergency fix and will not remove structural root intrusion or hardened scale. Avoid frequent use of caustic chemical drain cleaners — they can worsen long-term pipe health and are often false economy.
How to choose: practical decision points
- Location: If only one fixture is affected, start with plunging/hand auger. If multiple fixtures or the cleanout overflows, treat as a mainline issue and escalate.
- Composition clues: Grease smells and slow drains across multiple fixtures point to grease or scale — hydro-jetting is likely the right call.
- Pipe condition: For homes with old cast iron or known corrosion, schedule a
video camera inspectionbefore aggressive clearing. See River City Plumbing camera services: Portland Plumbing Services | Emergency Plumber | River City Plumbing. - Recurrence history: Repeating clogs after snaking means roots or scale; hydro-jetting plus a plan for trenchless repair or root control will save money over repeated service calls.
| Method | Best use case | Major limitation |
|---|---|---|
| Plunger / Hand auger | Single-fixture hair, debris | Doesn't reach mainline or cut roots |
| Motorized auger (sectional) | Localized tough blockages, roots in branch lines | Can damage fragile pipes; may push debris |
| Hydro-jetting | Grease, scale, widespread root invasion | Risk to deteriorated pipes without prior inspection |
| Enzymatic cleaners | Routine maintenance for organic buildup | Not for emergencies or hard obstructions |
Concrete Example: A Portland duplex with recurring kitchen backups had greasy film across multiple fixtures. The technician ran a camera, confirmed grease and moderate root penetration in the mainline, then used controlled hydro-jetting to clear the pipe and recommended a trenchless lining to prevent recurrence. This sequence avoided an unnecessary full excavation and stopped repeated service calls.
camera inspection when the clog is beyond a single fixture or when pipes are old. The modest upfront cost prevents inappropriate use of high-force clearing methods that can turn a repair into a replacement.Judgment call that matters: If a plumber recommends immediate hydro-jetting without a camera on an older system, push back — or get a second opinion. In practice, camera-first plus targeted clearing yields better outcomes and lower total cost in Portland's aging infrastructure.
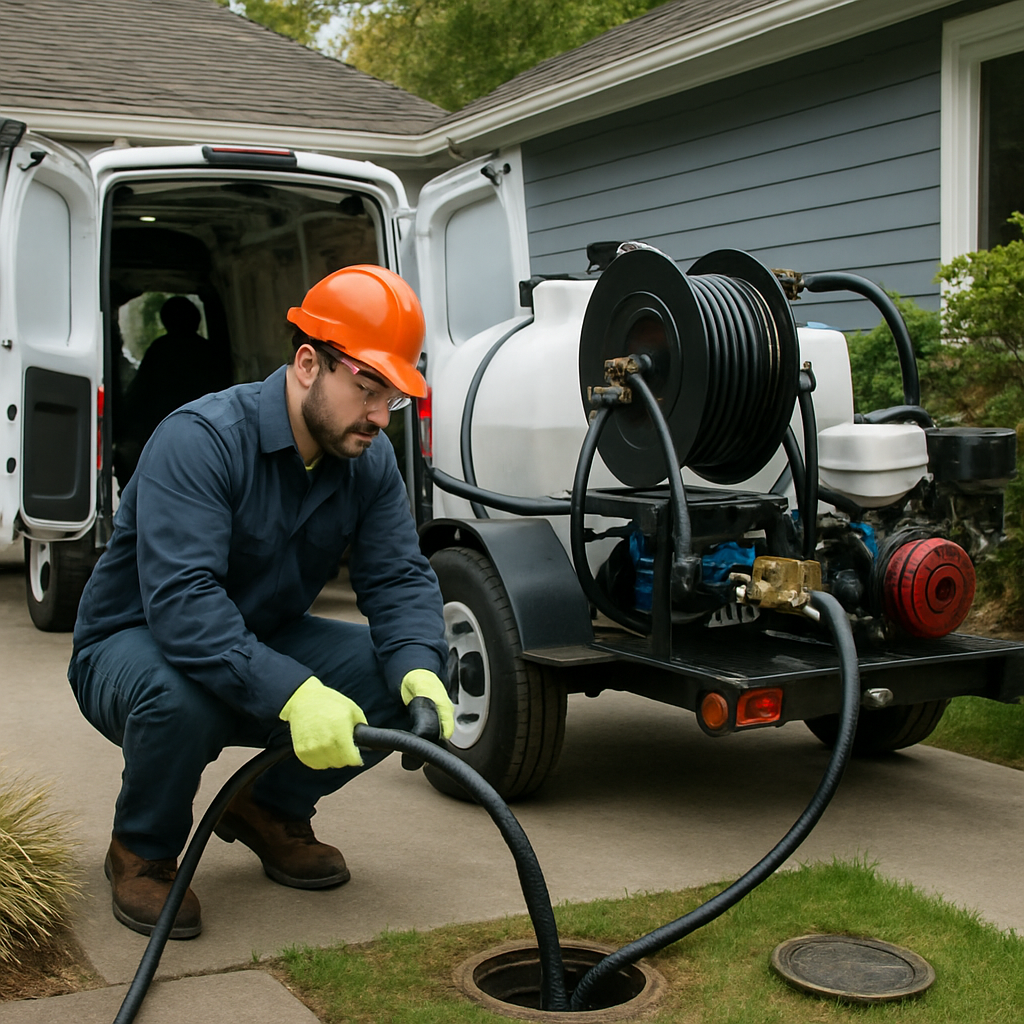
Next consideration: if clearing exposes pipe damage or repeated root regrowth, evaluate trenchless repair options and root management rather than scheduling more aggressive clearing.
4. Repair and Replacement Options for Damaged Pipes
Start with the camera report. A reliable repair plan depends on an accurate location and condition assessment from a video camera inspection; anything else is guesswork that costs money and often leads to unnecessary digging.
Common repair approaches and when each makes sense
- Spot repair and excavation: Best when a short segment is collapsed, crushed, or has a clean break that is easily accessible; high disruption but permanent when done correctly.
- Cured-in-place pipe lining (CIPP): Trenchless lining that seals cracks and joints. Good for long runs with multiple small leaks or root intrusion where the pipe is still structurally present but leaking. Reduces surface disruption and typically faster to complete.
- Pipe bursting: Trenchless replacement that fragments the old pipe while pulling in a new pipe. Appropriate when the existing line is too degraded for lining but surface access is limited.
- Root remediation: Mechanical cutting followed by targeted chemical treatment. Effective short term but will repeat unless roots are addressed in the landscape or the pipe is sealed.
- Full replacement (open dig): Required for severely collapsed lines, offset segments, or when lateral connections are incompatible with trenchless methods.
Tradeoff to expect: Trenchless methods lower surface damage and often reduce labor costs, but they change the pipe interior – lining reduces diameter and can complicate future tie-ins. Full replacement restores original diameter and slope but increases cost and landscaping impact.
Material and durability considerations
Material matters in the decision. Older cast iron and clay are prone to root entry at joints and corrosion; PVC is less vulnerable and often used for replacements. However, severely corroded cast iron may be brittle enough that high-pressure cleaning can cause more damage, so the condition found on camera should guide whether to jet, line, or replace.
Practical limitation: Hydro-jetting is excellent for clearing roots and scale but can worsen hairline fractures in extensively deteriorated cast iron. Always pair hydro-jetting with a prior camera inspection when the pipe material or age is in question.
Concrete example: A 1920s Portland bungalow with recurring backups had a camera inspection showing multiple offset joints and root intrusion along a 20 foot run under a driveway. Trenchless CIPP was chosen because the run was continuous and replacing the driveway would be expensive; however, the lateral to the street had one collapsed section that required a short open dig to reconnect the liner properly.
Permits and practical steps in Portland. Most significant sewer repairs or replacements trigger permit requirements under the Oregon Plumbing Specialty Code and often need City of Portland notification. Confirm permit handling before work starts and budget time for inspections.
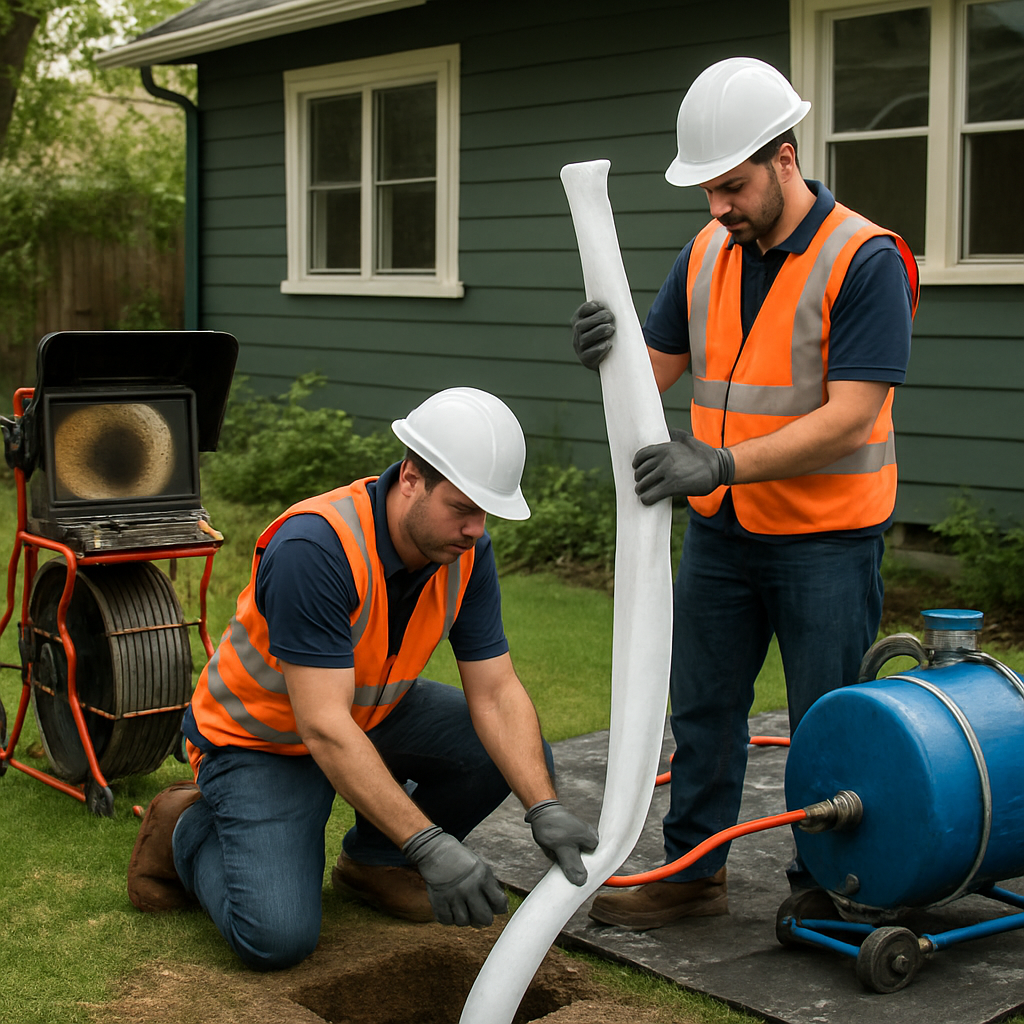
Final judgment: Trenchless fixes are often the best balance of cost and disruption for midlife pipelines, but they are not a universal solution. Use camera inspection as the decision gate, weigh future access needs, and treat root control as part of the repair plan rather than an afterthought.
5. Prevention Checklist Tailored to Portland Homes
Key point: Prevention is the lowest-cost, highest-impact part of drain services for Portland homes — but it has to be local and habitual, not occasional. Routine behavior changes, seasonal landscape planning, and a short list of professional interventions cut recurring clogs and avoid expensive sewer work.
Household habits that actually move the needle
Kitchen rules: Never pour cooking oil or grease down the drain; collect hot fat in a jar and trash or compost it. The City of Portland has practical FOG guidance—see City of Portland FOG guidance. Garbage disposals are convenient but not a grease solution; use them for small food scraps only.
- Quick wins: install a fine stainless strainer in every sink and clean it daily
- Bathroom: use hair catchers in showers and tubs and empty them each use; avoid flushing baby wipes or hygiene products
- Laundry and utility: lint traps for washers, keep construction debris out of drains during home projects
- Septic homes: schedule septic tank pumping per manufacturer recommendations and before selling or major events
Tree and landscape controls: Trees are a Portland reality; position new plantings 20 to 30 feet from sewer laterals and prefer shallow-root shrubs near lines. Mechanical root cutting is often necessary, but it is a recurring fix — consider a root barrier or trenchless lining if root regrowth returns every season.
Trade-off to accept: mechanical root cutting is cheaper short-term but requires repeat visits; cured-in-place pipe lining costs more up front but often stops roots for a decade or more. Choose lining when root intrusion is frequent or when cuts happen annually.
Concrete example: A 1920s Portland bungalow with cast-iron laterals had kitchen backups every winter. A contractor did a camera inspection, hydro-jetting to clear grease, then installed a short cured-in-place liner on the worst section and moved a maple 12 feet away. Result: no mainline backups for four years and far fewer service calls.
Maintenance cadence (practical): schedule a camera inspection annually for houses older than 40 years, hydro-jet every 2–4 years for older or problem systems, and monthly enzyme treatments like Bio-Clean for organic buildup. Adjust frequency downward for newer PVC systems without tree exposure.
Basement and storm readiness: Portland weather demands a working sump pump and tested battery backup. Test the pump annually, keep the discharge clear, and consider a secondary alarm. Clogged exterior storm drains and downspout connections can add water to sewage stacks — keep them clear or schedule seasonal debris removal.
Reality check: Source control — what you put down the drain and where you plant trees — prevents far more emergency plumbing calls than any over-the-counter product or one-off cleanout.
Next consideration: If you get recurring symptoms despite following this checklist, upgrade from maintenance to a targeted diagnostic: a licensed plumbing contractor can run a video camera and propose either scheduled root control or trenchless lining depending on findings—see Portland Plumbing Services | River City Plumbing.
6. Emergency Response: What to Do When Sewage or Major Backup Occurs
Immediate priority: stop making the problem worse and protect people. If sewage or a major backup is present, avoid contact, stop using water, and call an emergency plumbing service that responds 24/7 — this is a job for professionals, not more plunging or chemical drain cleaners.
What to tell the dispatcher — a short triage you can do while you wait
- Which fixtures are affected: list every toilet, sink, floor drain, and floor cleanout showing backup
- When it started: exact time and what changed just before the event (heavy rain, dishwasher run, basement sump running)
- Visible sewage or odor: say if raw sewage is present or just slow drains
- Previous work or recurring issue: note recent repairs, camera inspections, or hydro-jetting history
- Access info and safety concerns: location of the cleanout, basement steps, pets, power availability
Short-term mitigation professionals may perform: portable submersible pumping, temporary patching of a broken cleanout, shutting the house main to stop inflow, and isolating contaminated areas. These are triage moves — they reduce damage and give time to diagnose and plan a permanent repair.
- What an emergency plumber will do first: perform a safety assessment, document the scene, and stop further water entry
- Next step usually: run a camera inspection or use a hand auger to confirm whether the issue is a blockage, collapsed pipe, or mainline surcharge
- Temporary vs permanent fixes: expect an immediate mitigation and a written plan for repair (camera video, estimate, and permit needs)
- Documentation you should get: time-stamped photos/video, itemized scope of work, and any permit paperwork or code citations
Trade-off to understand: emergency response prioritizes stopping damage and restoring basic function. That often means a temporary fix first and a scheduled permanent repair after a camera inspection. Insisting on a full dig or trenchless lining during an emergency can delay mitigation and increase immediate costs without better outcomes.
Concrete example: A Portland homeowner called after sewage rose into a finished basement following a storm. The 24-hour crew arrived, shut off the internal water, pumped and removed contaminated water, and installed a temporary cleanout cap. They left a written mitigation report and returned the next day with a RIDGID camera to confirm root intrusion, then provided a trenchless lining estimate and permit plan.
Practical judgment: expect the emergency visit to cost more per hour than a scheduled service; that is not overcharging, it is response premium for rapid containment. Ask the technician whether they can perform a camera inspection the same visit — it often reduces total cost by preventing unnecessary digging or repeat dispatches. For Portland emergency options, check local 24-hour plumbers such as Portland Plumbing Services | Emergency Plumber | River City Plumbing.
Next consideration: after mitigation insist on a camera inspection report before approving permanent work. That report is the single document that stops guesswork, supports insurance claims, and tells you whether the long-term fix is cleaning, lining, or replacement.
7. Cost Expectations and How to Vet a Plumbing Contractor in Portland
Start with the hard truth: low quotes on drain services usually mean corners will be cut or the work will uncover additional scope. Budgeting realistically and vetting a contractor saves money and time on the back end.
Typical Portland cost ranges – ballpark figures
| Service | Typical Portland range | What changes the price |
|---|---|---|
| Basic drain cleaning / unclogging | $125 – $350 | access, single fixture vs mainline, emergency or after-hours fee |
| Camera / video inspection | $150 – $500 | length of run, reporting, locating equipment |
| Hydro-jetting / high-pressure water jetting | $400 – $1,200 | severity of buildup, root work, access, truck charges |
| Trenchless pipe lining (CIPP) | $2,000 – $8,000 | pipe diameter, length, lateral connections, permits |
| Full sewer line replacement (excavation) | $6,000 – $25,000+ | depth, landscaping restoration, surfaces to repair |
Key tradeoff: paying for a camera inspection and a thorough quote up front typically costs more than a cheap clear, but it prevents surprise excavation and repeated visits. Camera-first is not an extra nicety in older Portland homes with cast iron or root-prone lines, it is a cost control strategy.
Concrete example: a homeowner with recurring mainline backups called three different contractors. One offered a $200 snake and left roots; problems returned in weeks. Another charged $350 for a camera, found root intrusion 25 feet in, hydro-jetted the line for $700 and recommended lining for $4,500. The camera-first path cost more initially but avoided an unnecessary full dig and a repeat service call.
Practical checklist to vet a Portland plumbing contractor
- Verify license and insurance: ask for the Oregon plumbing license number and verify via the Oregon Plumbing Specialty Code lookup. Confirm general liability and workers compensation coverage.
- Require a written, itemized estimate: materials, labor, permit fees, and after-hours premiums should be separated. No verbal only promises.
- Insist on camera documentation: get the video or stills and a written explanation. Contractors who skip this for mainline work are more likely to under-estimate scope.
- Ask about warranties and what they cover: lining work often carries a 1-5 year warranty on workmanship and materials. Get it in writing and note any exclusions.
- Confirm permit handling: for trenchless lining or replacement ask who will pull permits. Licensed contractors handle permit submissions in Portland; you should not be asked to do it.
- Check references and local reviews: PHCC membership and Better Business Bureau entries are useful. Look for repeat customers on similar services such as hydro-jetting and sewer line replacement.
- Clarify payment terms: avoid full upfront payments. Hold final payment until documentation, permits, and photos are provided.
Red flags: pressure to pay cash, refusing camera inspection, flat low bids that exclude permits or restoration, or no written warranty. These are correlated with higher total costs when failures show up later.
Emergency calls and after-hours service can double the hourly rate. If 24-hour plumber availability matters, confirm the emergency premium up front and get an estimated mobilization fee.
If you want a starting point for local options, review services and emergency response availability at Portland Plumbing Services | Emergency Plumber | River City Plumbing. Also check City of Portland guidance on grease and permitting at City of Portland FOG guidance.